


This week, I was supposed to be implementing the Parameter Server on micro-ROS, but I decided to put that aside for a while and work on updating the robot description instead. I made some hardware changes since moving to ROS 2 (new RPi 4 case, changed LIDAR position) a while ago, but never got the chance to update the robot description files. I divided this into four steps:
Update the akros_description package, which is still using ROS 1 Noetic
Update the mesh publisher, which publishes URDF mesh elements as a MarkerArray for remote visualization, using Foxglove Studio for example
Move the ROS 1 launch file to a python launch file for ROS 2, and include it in akros2_bringup_launch.py
I started by creating a new akros2_description package in ROS 2 Humble and setting up the updated URDF. I already had the URDF from before the hardware changes, so I only had to update the meshes and change the positions of the links in the URDF file.
I did have some trouble with the realsense_ros library for ROS 2, while setting up the T265 tracking camera. Earlier versions (with ROS 1) allowed me to do the following things:
Provide wheel odometry to the T265 (using a calibration JSON file) and get the fused
odom_frame->base_linktransform.OR disable the odometry transform (instead publish odometry messages), and use an Extended Kalman Filter (EKF, using robot_localization) on ROS 1 to fuse the T265 and wheel odometry messages. This EKF node then provided the
odom_frame->base_linktransform.
However, both these features (previously set as launch arguments from the launch file / CLI) are now deprecated in the latest ROS 2 release. Intel doesn't plan on supporting it either, especially since the hardware has been discontinued. As a result, I now have the following in ROS 2:
T265 provides the
odom_frame->base_linktransform directly using visual-inertial odometry (VIO) and does not include wheel odometry.Wheel odometry is provided by the micro-ROS node, and is linked to
enc_odom_frame(as the parent link), withbase_footprintas the default child link.
Going forward, I still need to figure out how I can fuse them both - either I update realsense_ros by myself to include wheel odometry using a launch argument, or I run an EKF node but I'm unsure how the transform tree will look now that I cannot disable the odometry transform from the T265.
Mesh Publisher
For now, everything worked as expected, so I decided to work on the mesh publisher. When working remotely with ROS 2 running on the robot and Foxglove Studio running on my Windows laptop (without ROS 2 installed), I can visualize all topics and transforms, but not URDFs. So, I created a MarkerArray publisher, that publishes the meshes of the robot's components as an array of markers, with each mesh linked to its respective URDF link. But this was done a while ago and was still using ROS 1 Noetic. However, migrating to ROS 2 was straightforward.
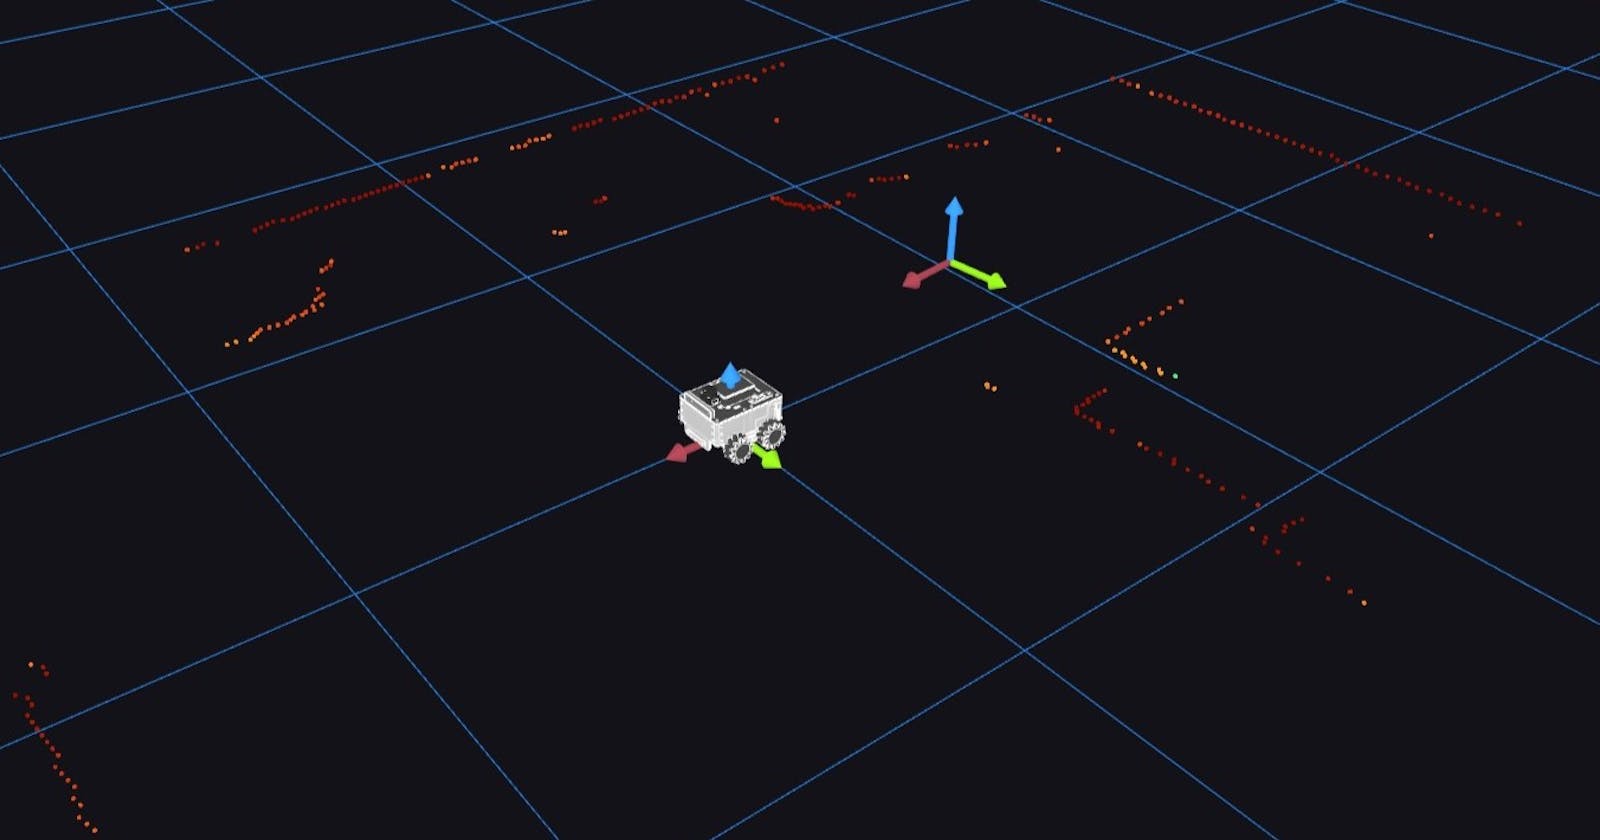
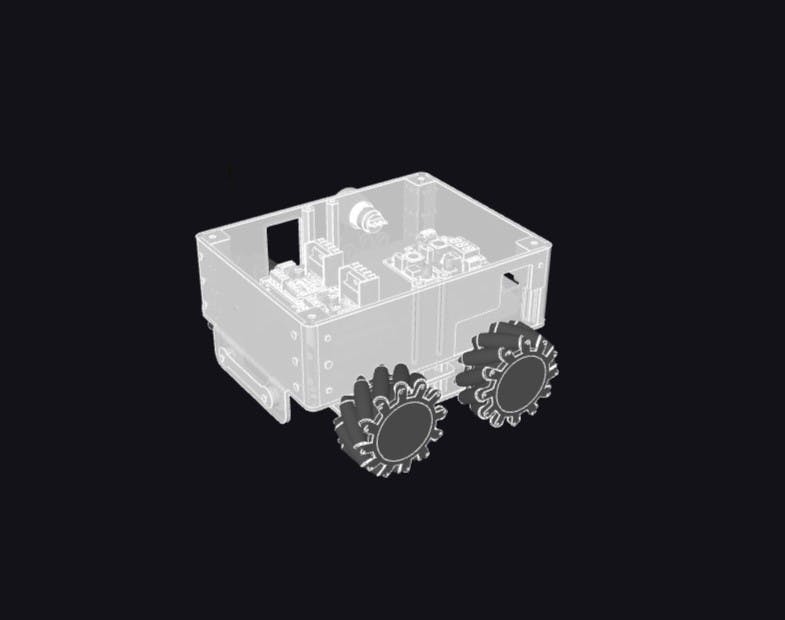
When I first ran the mesh publisher, I connected a monitor to my RPi to visualize it on RViz2. The marker array transforms looked fine (although it seems RViz2 does not like transparent markers), as seen in the image below.

But the meshes were all rotated when I tried visualizing it on Foxglove, as seen in the image below.
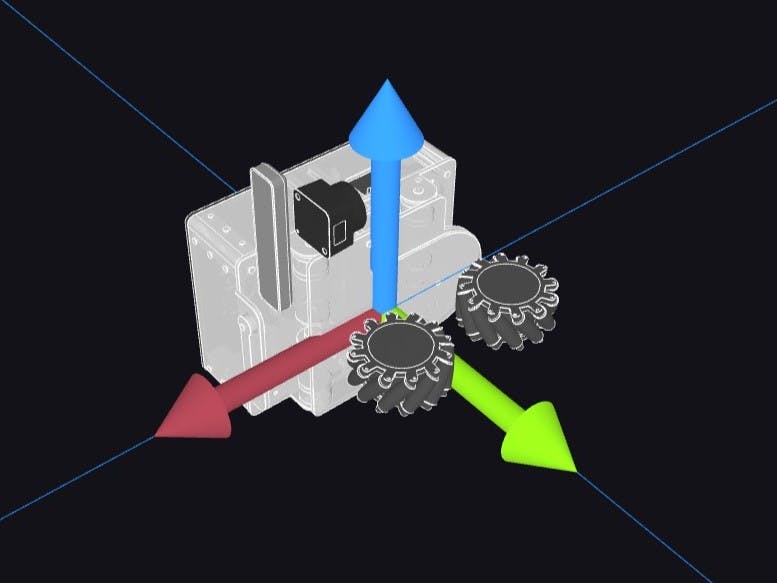
I struggled with this for a while, before realizing that meshes in the 3D panel default to the y-up orientation, while ROS (and my design) uses the z-up orientation.
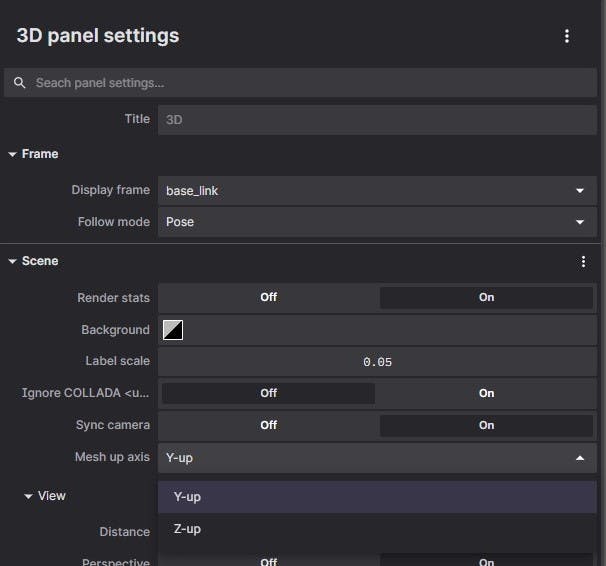
After changing the default orientation in the 3D panel settings, and a quick restart, the problem was solved.

Joint State Publisher
While testing my implementation, I ran two other nodes alongside the mesh publisher:
robot_state_publisher to view the actual robot description on RViz2. This node also subscribes to the combined JointState message, which moves the corresponding joints in the URDF according to the provided velocity and position.
joint_state_publisher to subscribe to individual joint states (motor states in this case - position, velocity) and publish the combined JointState message to which the robot_state_publisher subscribes.
Originally, in ROS 1, I was using the mesh publisher node instead of the joint_state_publisher to publish the JointState message. The node subscribed to the measured speeds of each motor from the ROSSerial firmware and calculated the speed in rad/s and the position in radians for each joint. This was then published as a combined JointState message to robot_state_publisher.
In ROS 2, I decided to do this directly from the micro-ROS firmware. So, instead of publishing the measured speeds of each motor, the micro-ROS node would now publish a combined JointState message with the measured speeds and positions of each motor. I made the necessary changes to the micro-ROS firmware, which can be seen here.
I was originally also publishing the required speeds for each motor, so I also changed that to publish another JointState message but with the required speeds and positions of each joint. While it is not used anywhere, it is useful for me as a debugging and controller tuning tool.
Launch File
Finally, I set up the launch file. I created a launch argument to switch between the micro-ROS node and the joint_state_publisher to publish the combined joint states. While I did start by checking out rosetta_launch (an amazing resource about writing ROS 2 launch files), I eventually ended up just asking ChatGPT to write it for me. Since ROS and its community-developed resources are open-source and mostly freely available on GitHub, ChatGPT seems to be trained really well to write simple ROS (1, 2, and micro-ROS) code. Once the akros2_description launch file was ready, I then updated the akros2_bringup launch file to include the description launch file and set the correct launch arguments. Once ready, I could launch everything (sensors, motor control using micro-ROS, visualization nodes, and the robot description including the mesh publisher) using a single launch file. Here is the resulting visualization on Foxglove Studio:
Update:
I've been using this for nearly 2 weeks now, but the visualization hasn't always been reliable. I could only reproduce the visualization from the video around 30% of the time I tried the launch file. I saw two main issues:
Sometimes the transforms didn't load correctly. The 3D panel on Foxglove Studio looked like the below image. The top panel, LD06 and the T265 were shown as separate transform trees and not connected to the rest of the robot. This mainly (90% of the time) happened in two situations:
Foxglove Studio was kept running, and the launch file was terminated and re-launched after some time (usually a few minutes)
Foxglove Studio was closed and re-opened in a few minutes while the bringup launch file was kept running.
In other instances, the wheels (defined as continuous joints) were not displayed at all if the JointState message wasn't published by the micro-ROS node.
- While the joint states were published correctly, the visualization wasn't always as smooth as in the above video. Sometimes the visualization was jerky, sometimes the wheels didn't move at all.
For background, I recently moved from ROSBridge to Foxglove Bridge to connect ROS 2 data from the robot to Foxglove Studio. I decided to try using rosbridge_server instead (I hadn't tried it in ROS 2 so far, only in ROS 1 Noetic) and see if it fares any better. It did, to some extent.
The transform tree issue from above was solved, both when Foxglove Studio was closed/re-opened and also when the launch file was terminated/re-launched. The wheels still needed JointState message to be published, but unlike foxglove_bridge, the meshes were updated as soon as the micro-ROS node was enabled. I still need to update the mesh publisher to publish one JointState message for the wheels when it is launched so that the meshes are initialized.
The second issue with the visualization is not completely solved but there's some improvement. The wheels now move correctly according to the joint states, however, there is significant and visible latency now, up to nearly 0.5 seconds at times. There's also a little bit of latency with the laser scan, which is quite visible when turning. Results can be seen in the video below (all the transforms are correctly published, I had disabled them when recording this example):
For now, I have decided to go with rosbridge_server as my means of connecting live data to Foxglove Studio. But I hope these issues are fixed in later updates of foxglove-bridge. They've done a great job in reducing latency because when it works, it works really well and with minimal latency.
However, my priority for visualizing the robot is a correct and reliable transform tree, any latency is fine as long as data is not being dropped. I guess that was the problem with the first issue with foxglove_bridge: I'm using it to publish a lot of data - meshes, transforms, laser scans and sometimes camera streams, and possibly a few messages were being dropped to provide such low latency.
On the plus side:
Update (October 2023)
Seems like my issues with Foxglove Bridge have been resolved. I no longer have the issue with the transform tree, and it seems to work even over a VPN connection. Reverting back to Foxglove Bridge for now, although I have still kept the option to switch to ROSBridge if I want...
Next Up
Next up I want to stick to my earlier plan and set up the Parameter Server on micro-ROS. Like I mentioned last time, I also want to explore tracing for ROS 2 and micro-ROS. As for the book for February, I was able to finish it (although a few days late). For March, I chose this book. And speaking of books, I also received this one by Francisco Martin Rico during the week:
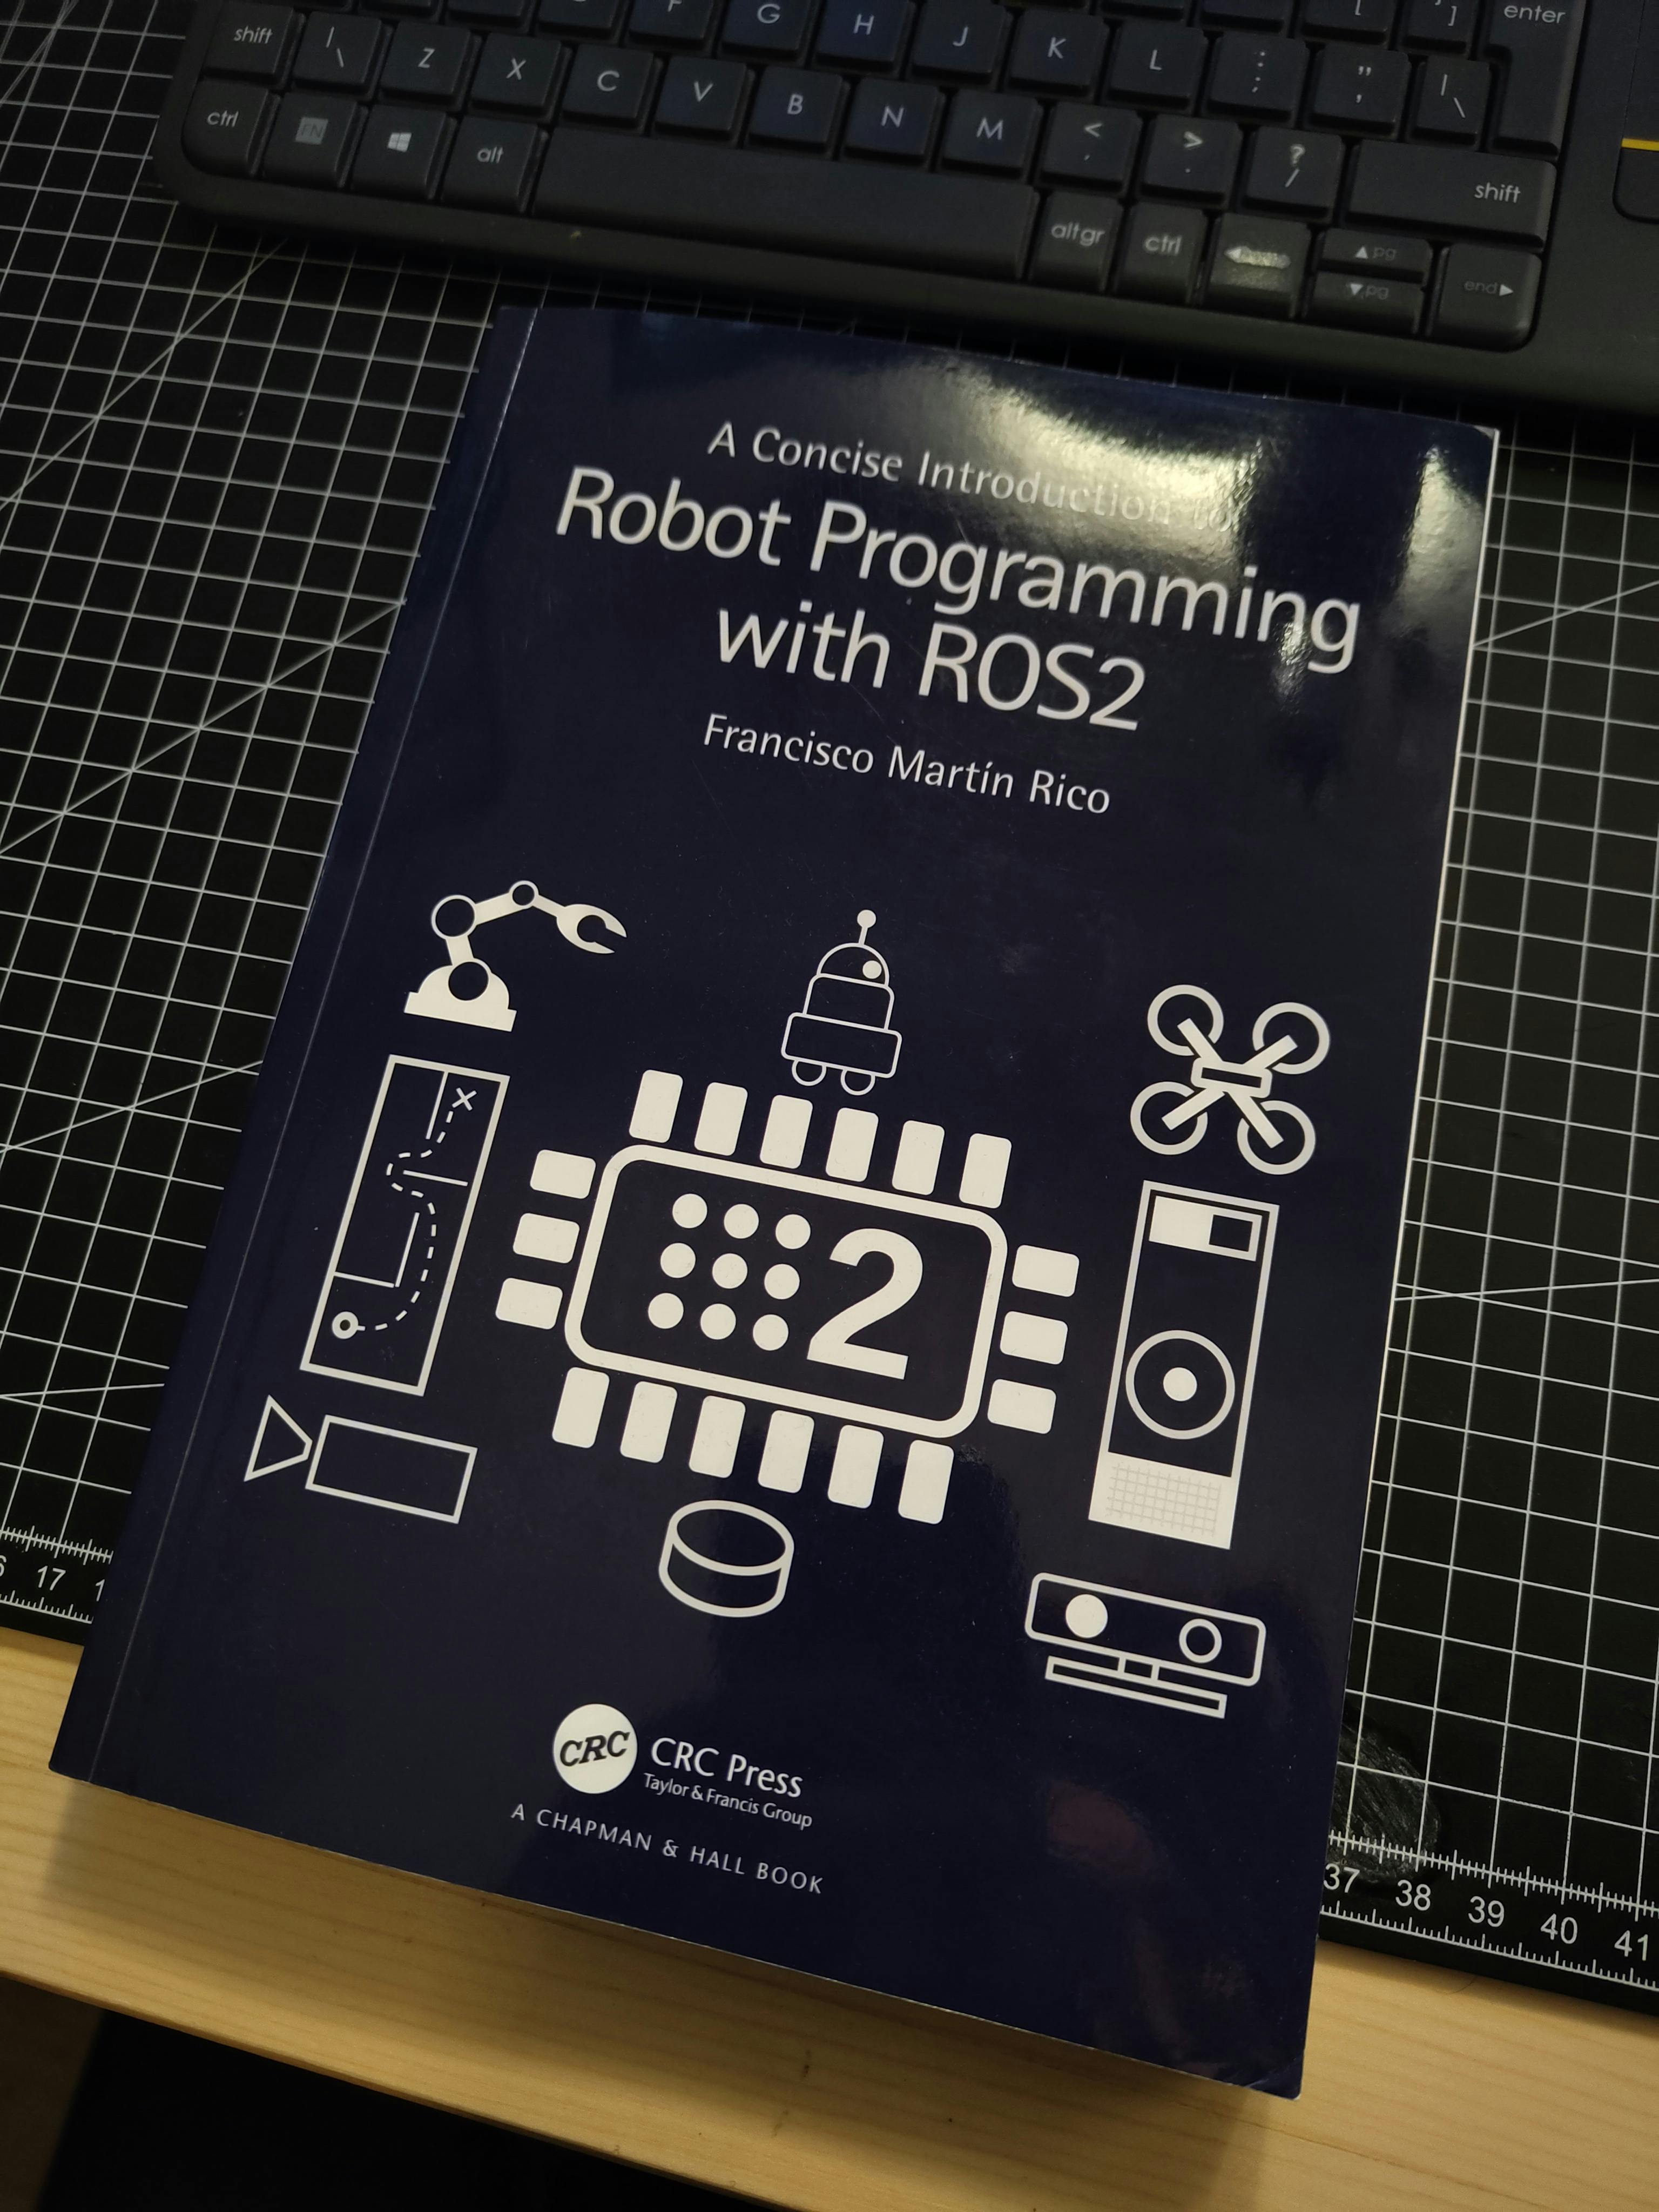
I skimmed through the chapters, and it seems to have a lot of relevant information despite being so thin (as the title suggests, it is definitely concise). It looks like an amazing resource, that I will be referring to throughout the year...