Driving Serial Servo Motors
Updating the Feetech SCServo libraries for STS3215 servo motors


For the whole of last week, I've been waiting on the motors and encoders to arrive, but while the package has arrived in the Netherlands, PostNL is taking ages to get it to me in Eindhoven. So, instead of going ahead with my original plan of making a minimal ros2_control implementation and hardware interfaces, I decided to play around with the Feetech STS3215 / ST3215 motors using a Raspberry Pi.
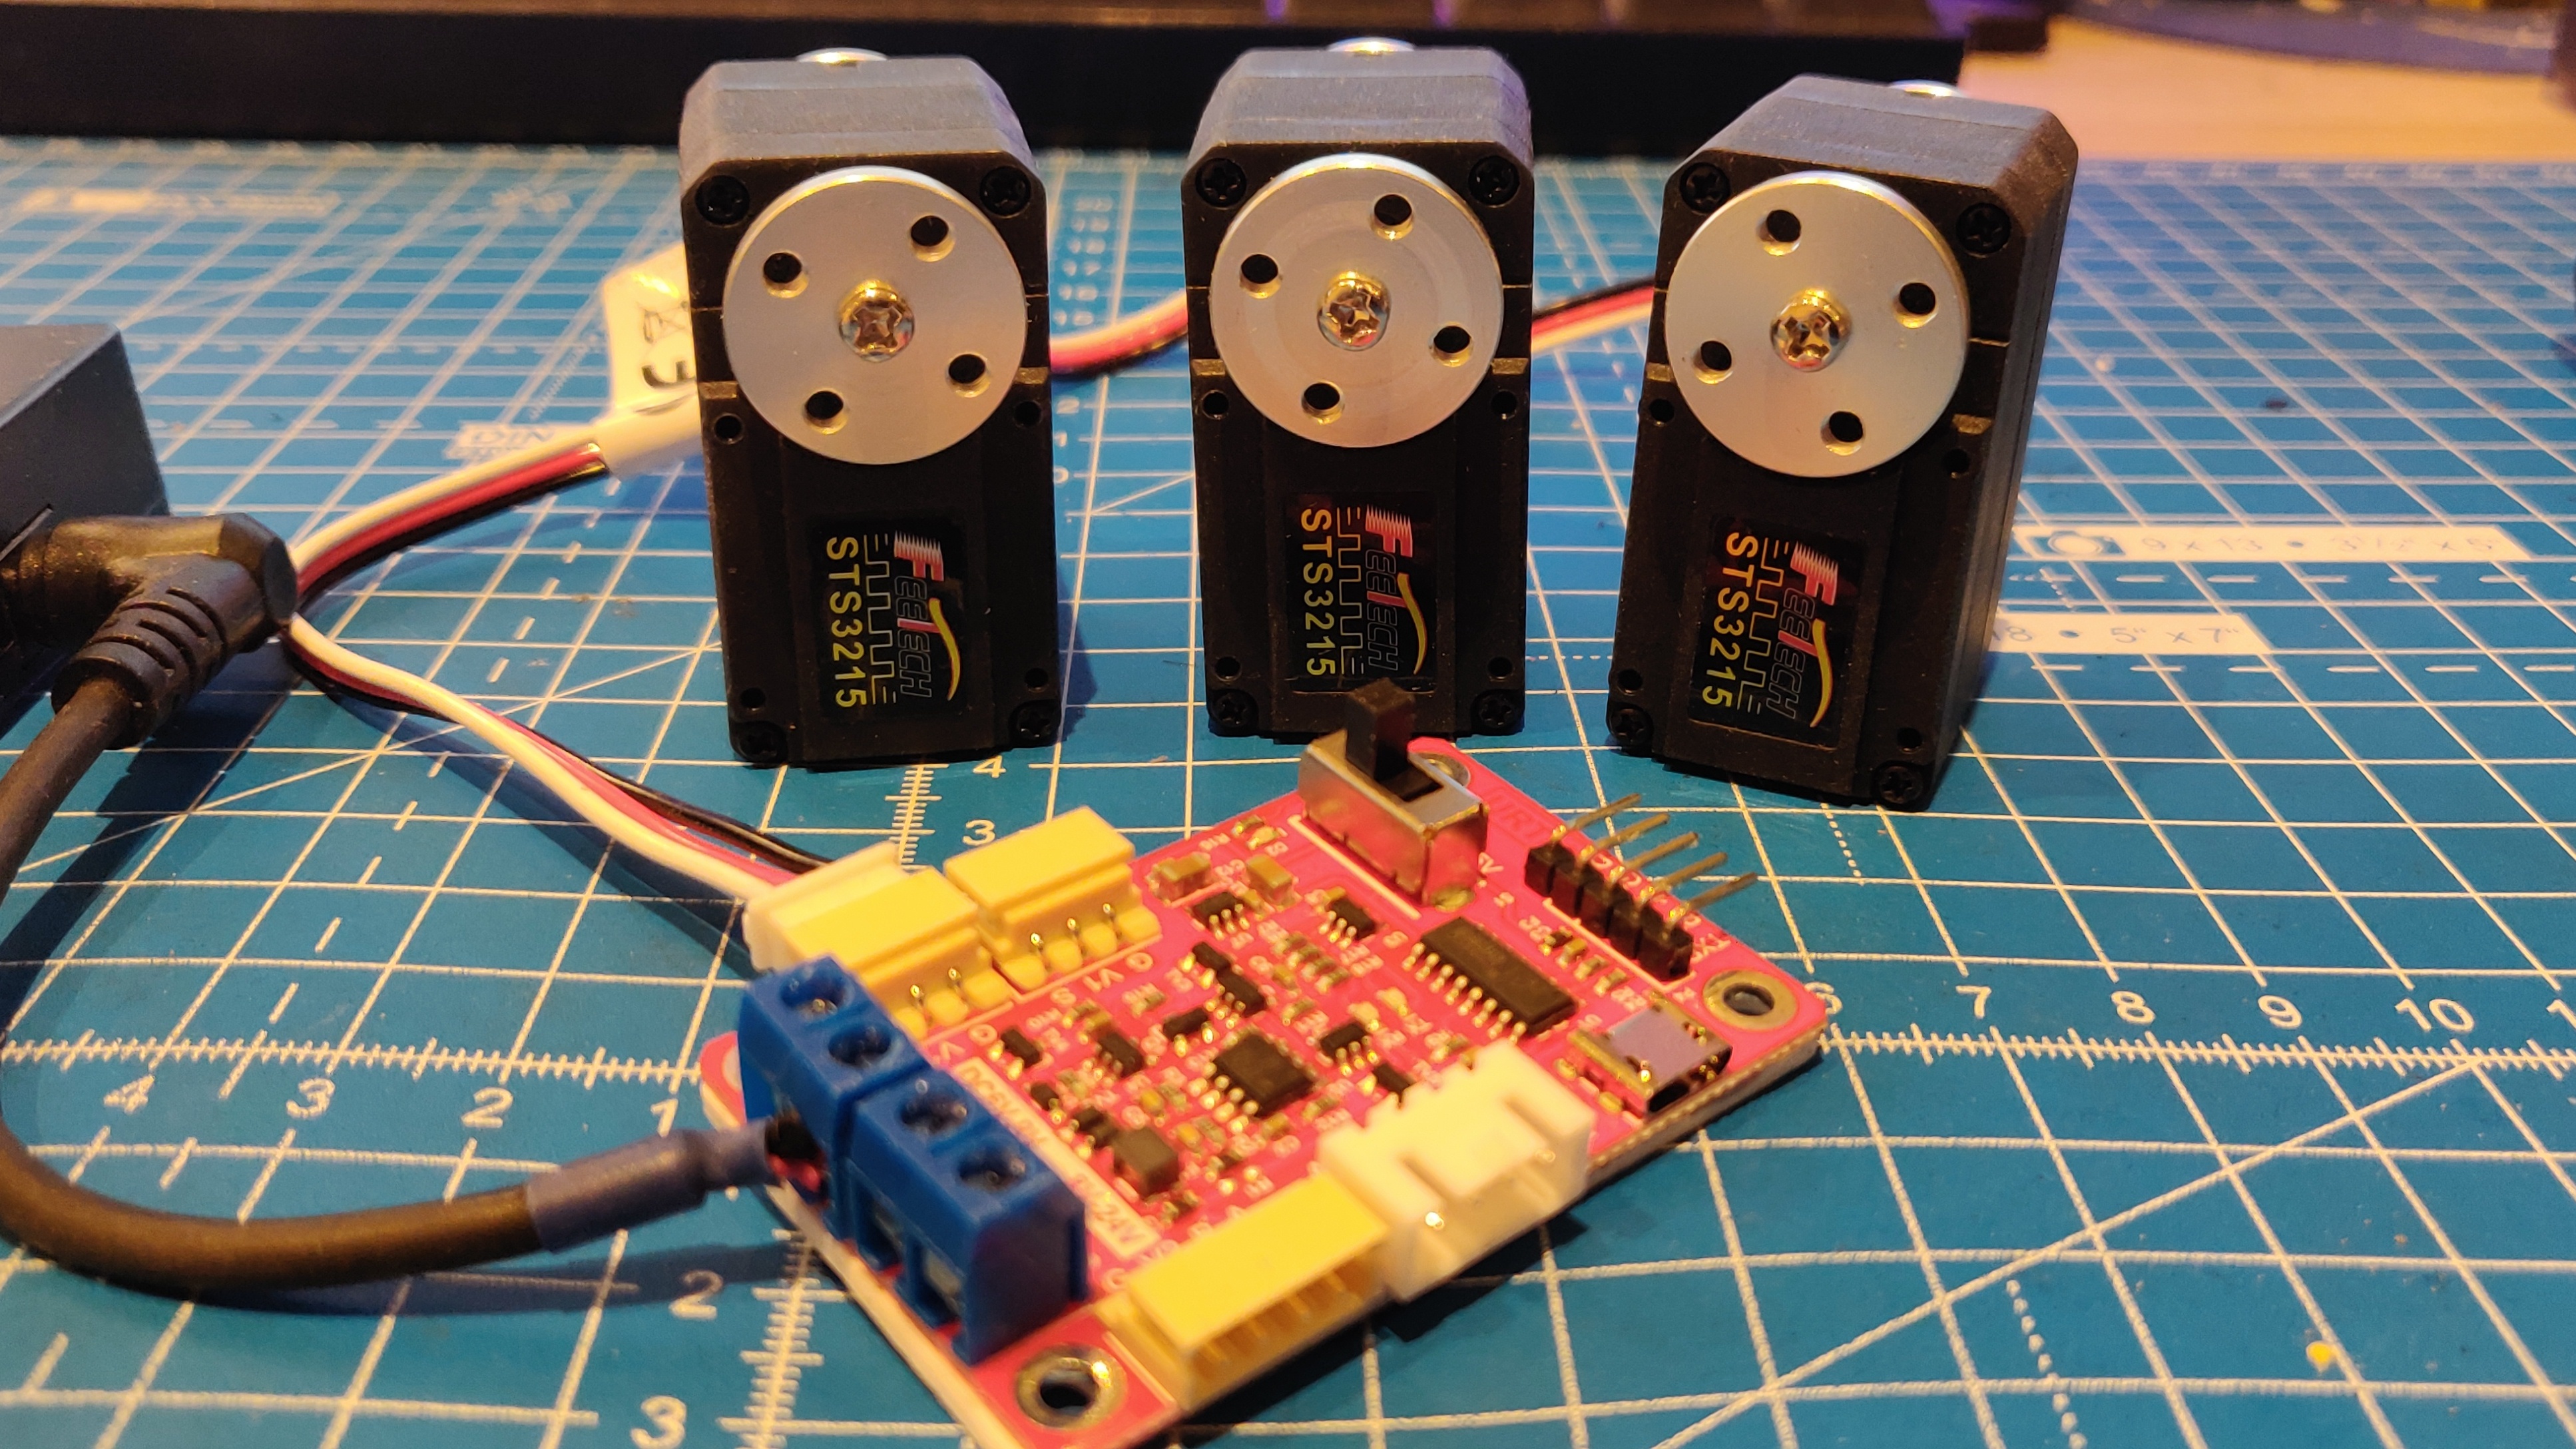
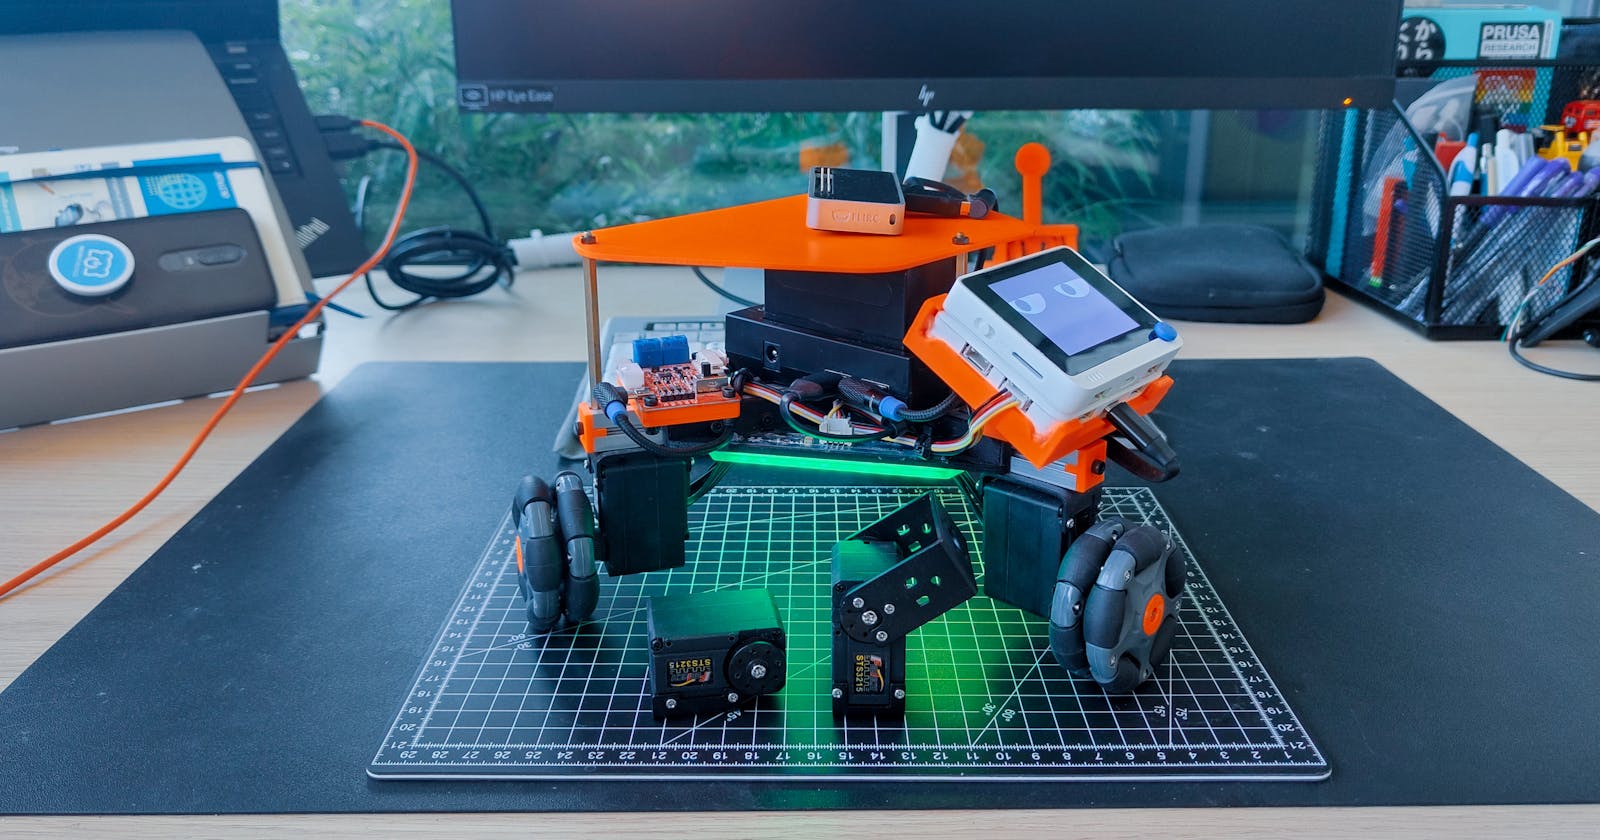
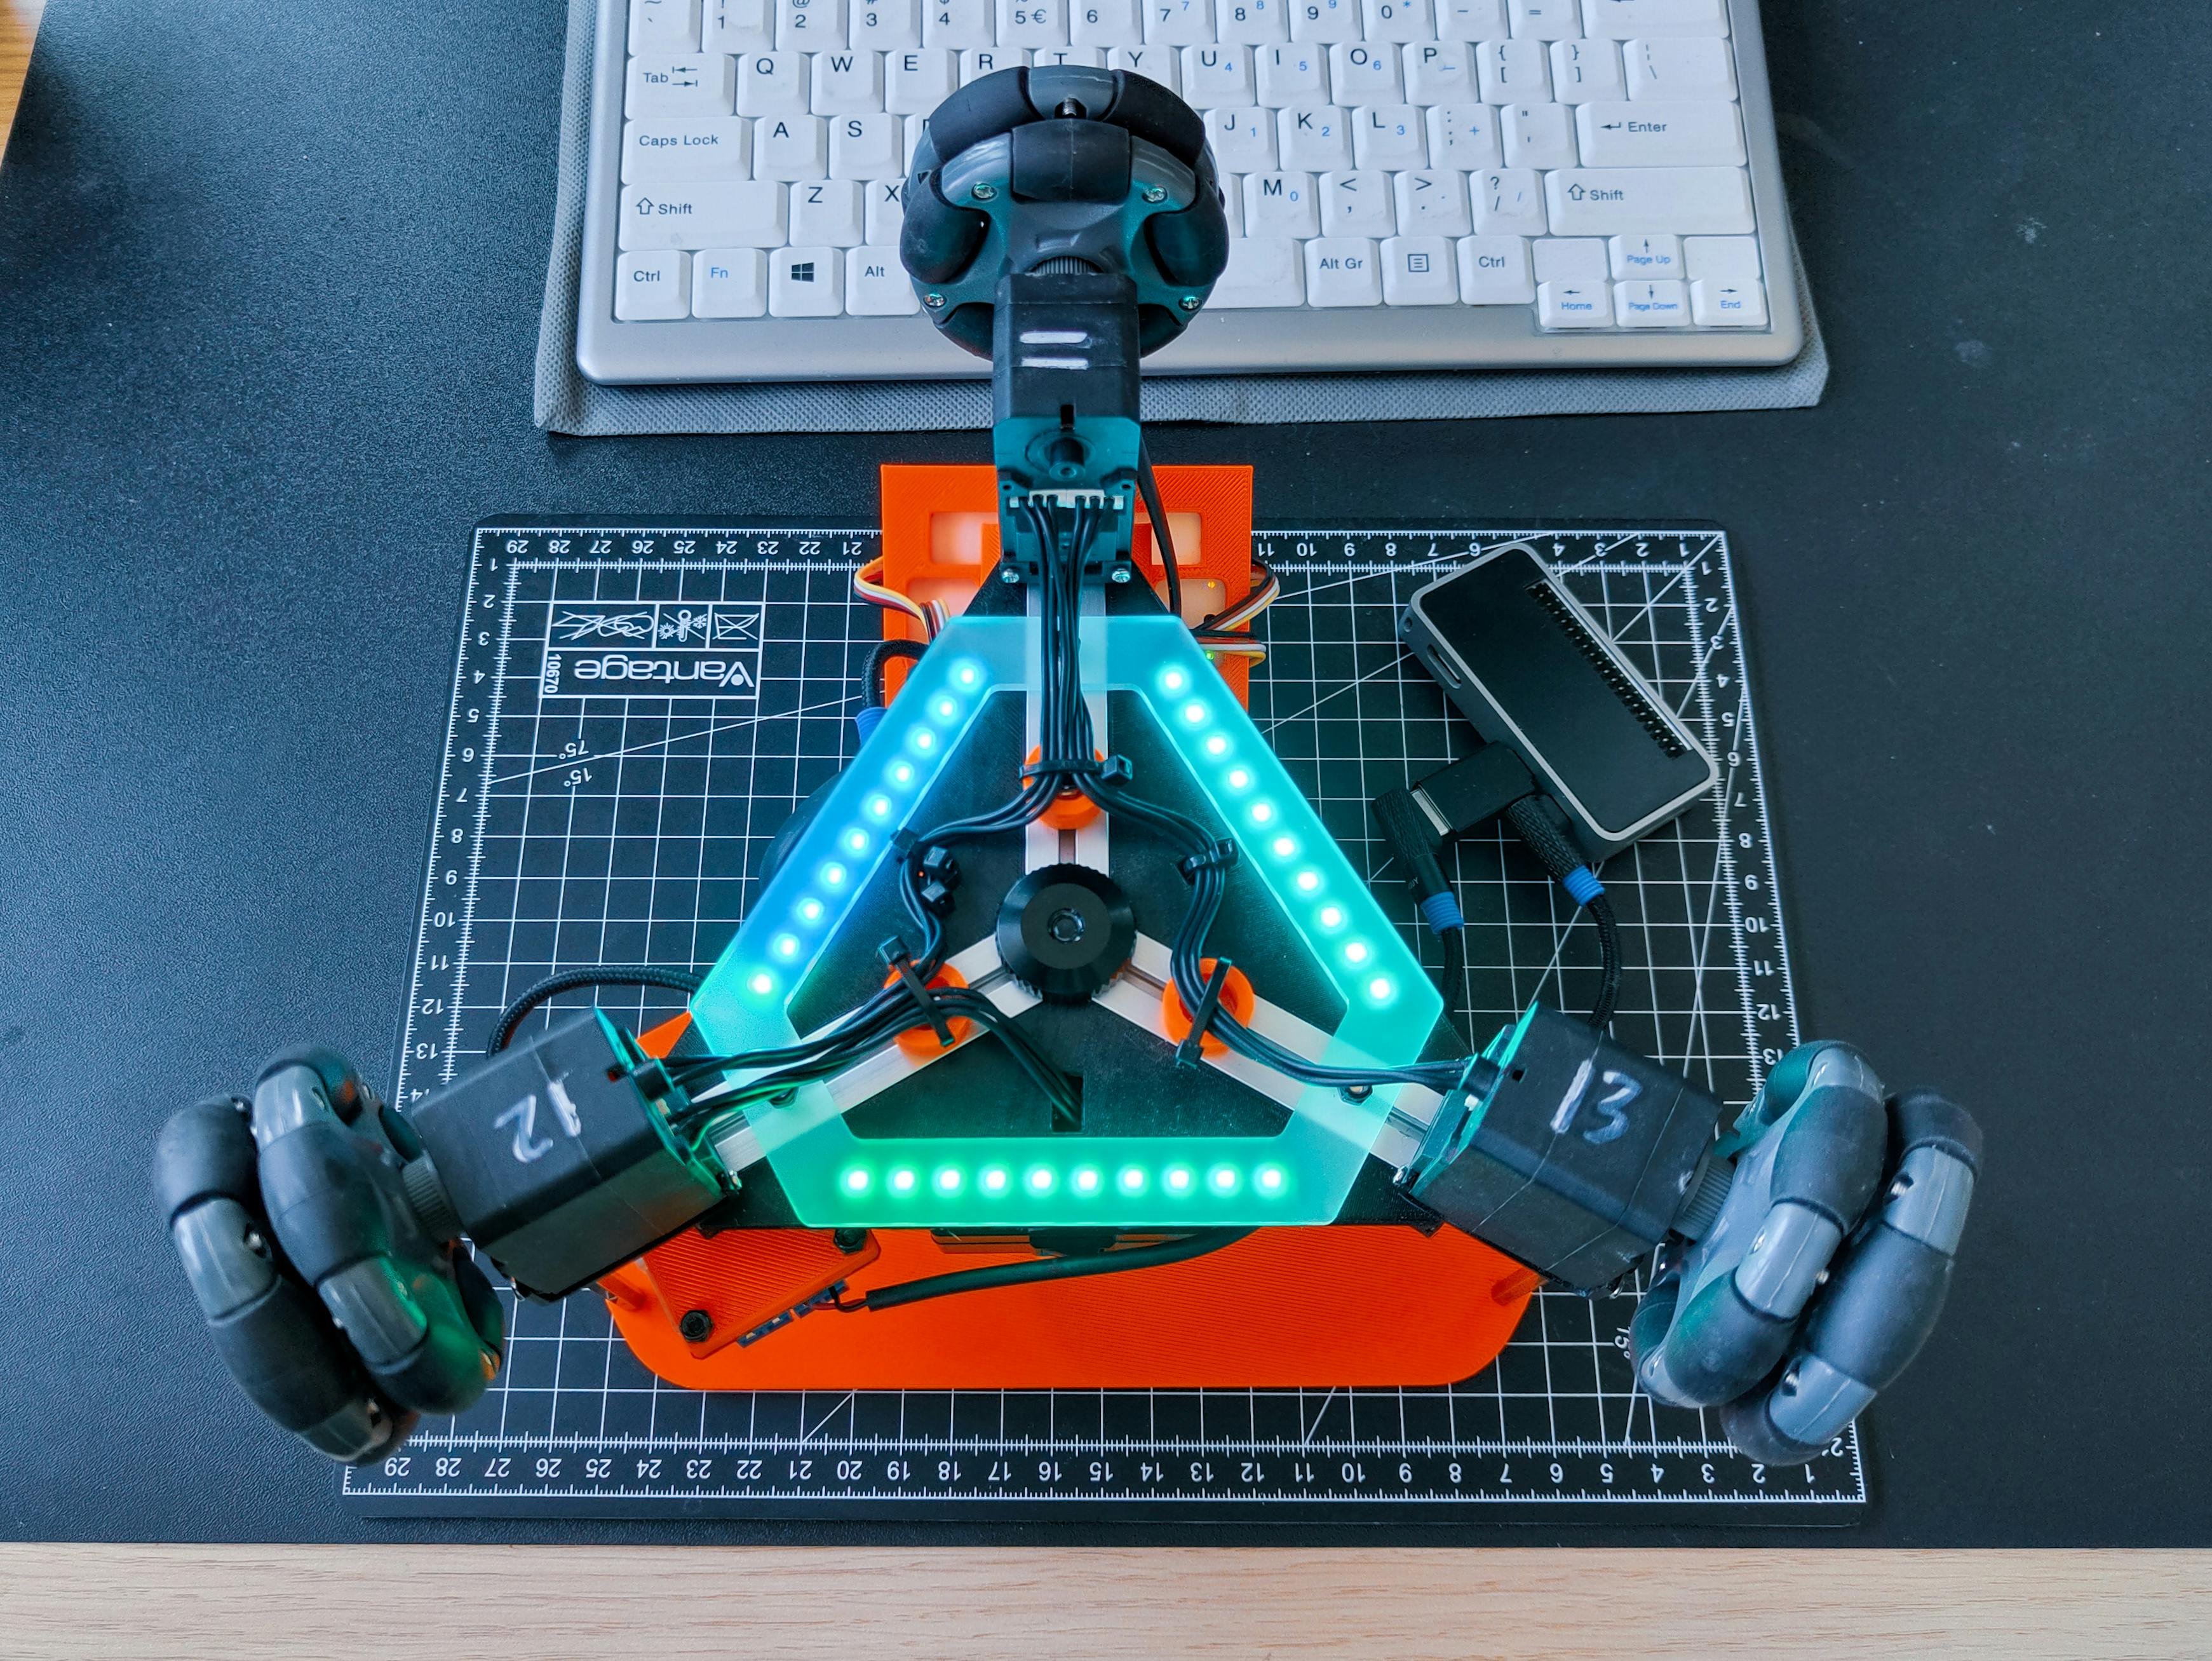
These are special serial bus servo motors with 360-degree magnetic encoders which allow the servos to be used as a continuous motor with closed-loop control and feedback. With metal gears and 19 Kgcm torque at 7.4V, they're quite powerful too. I bought a few of these motors about a year ago and have since built a 3 omni-wheeled robot using three of these motors.
Originally, I had planned on implementing the control using micro-ROS, however, I've now abandoned the plan and want to use ros2_control instead. There were a few reasons for this. First, I haven't been able to get the WiFi UDP transport working with the Wio Terminal. So, the only micro-ROS transport I'm left with is Serial, but unfortunately, the port is already being used by the FE-URT-1 motor controller to drive the servo motors. I also realized that adding a micro-ROS system would add unnecessary latency to the system in comparison to directly controlling the motors from a Raspberry Pi.
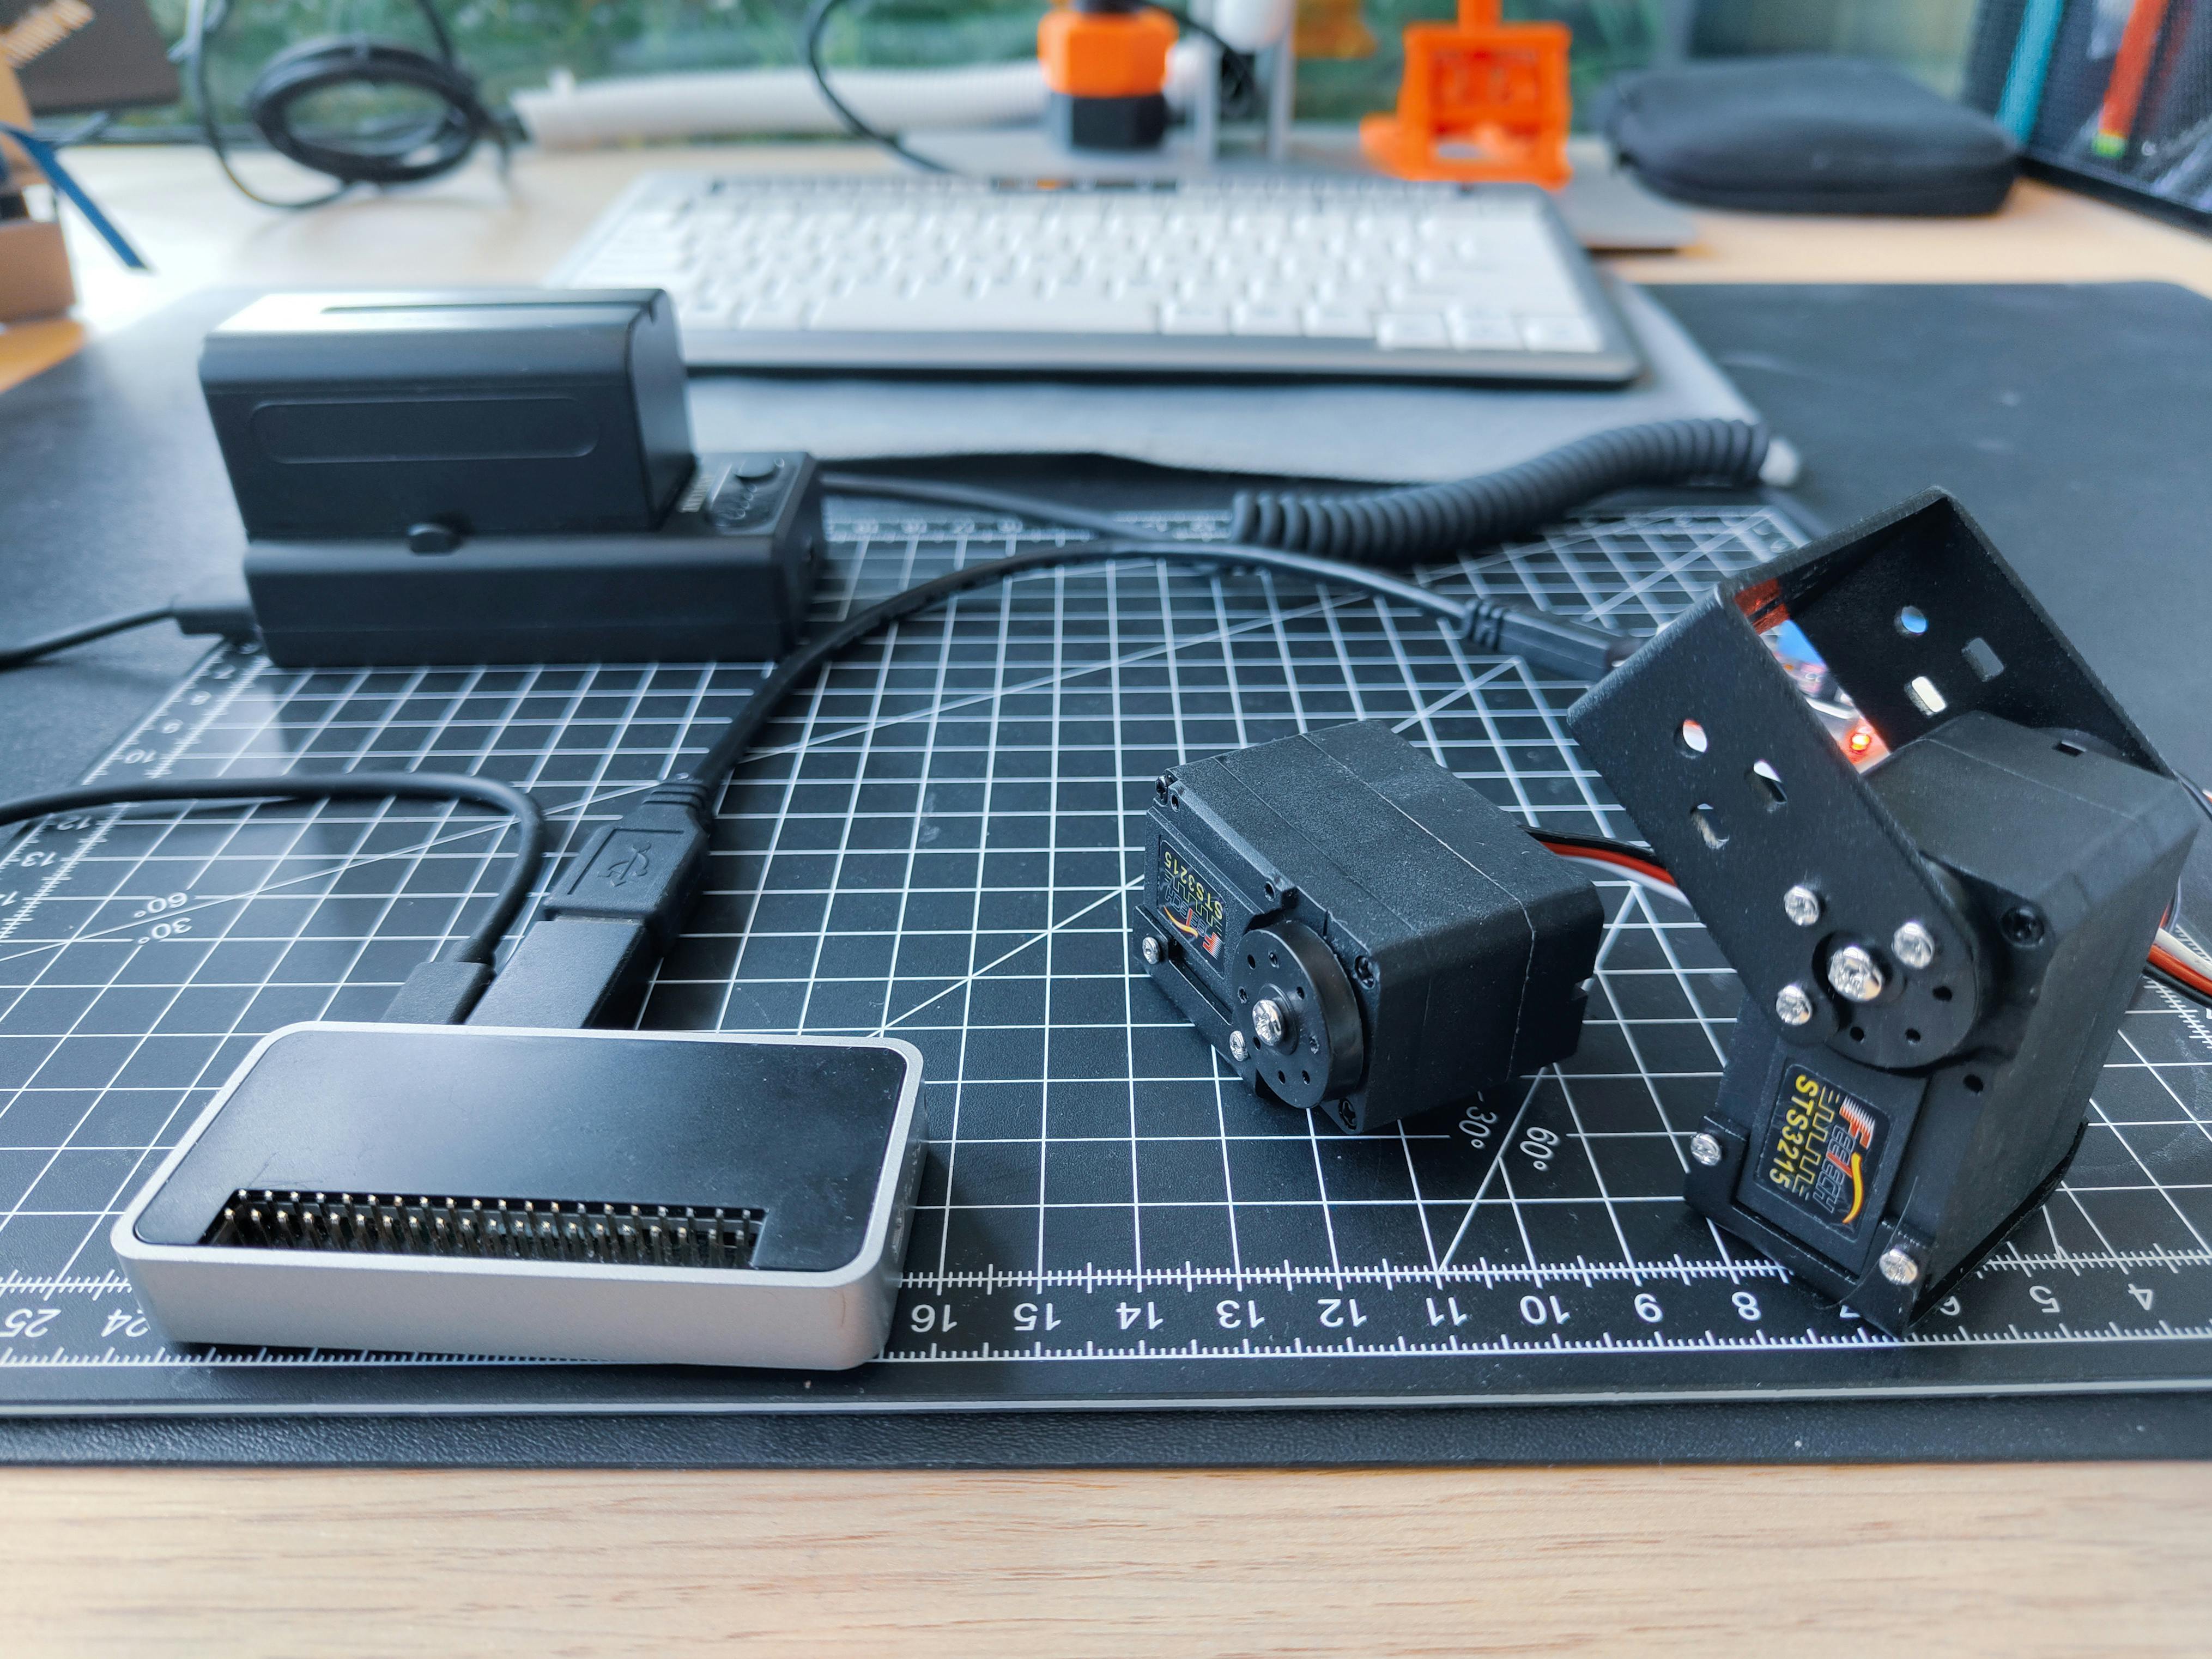
So, I had to make a few changes. First, I disconnected the motor controller from the Wio Terminal, and instead connected it using a micro-USB cable to a Raspberry Pi Zero 2 W running Ubuntu 22.04 (and ROS 2 Humble for future use). I then used the remaining USB port from the NP-F750 battery adapter to power the Pi. Since it is a Pi Zero, 5V/2A is enough and I don't need to worry about underpowering the device like with a Pi 4.
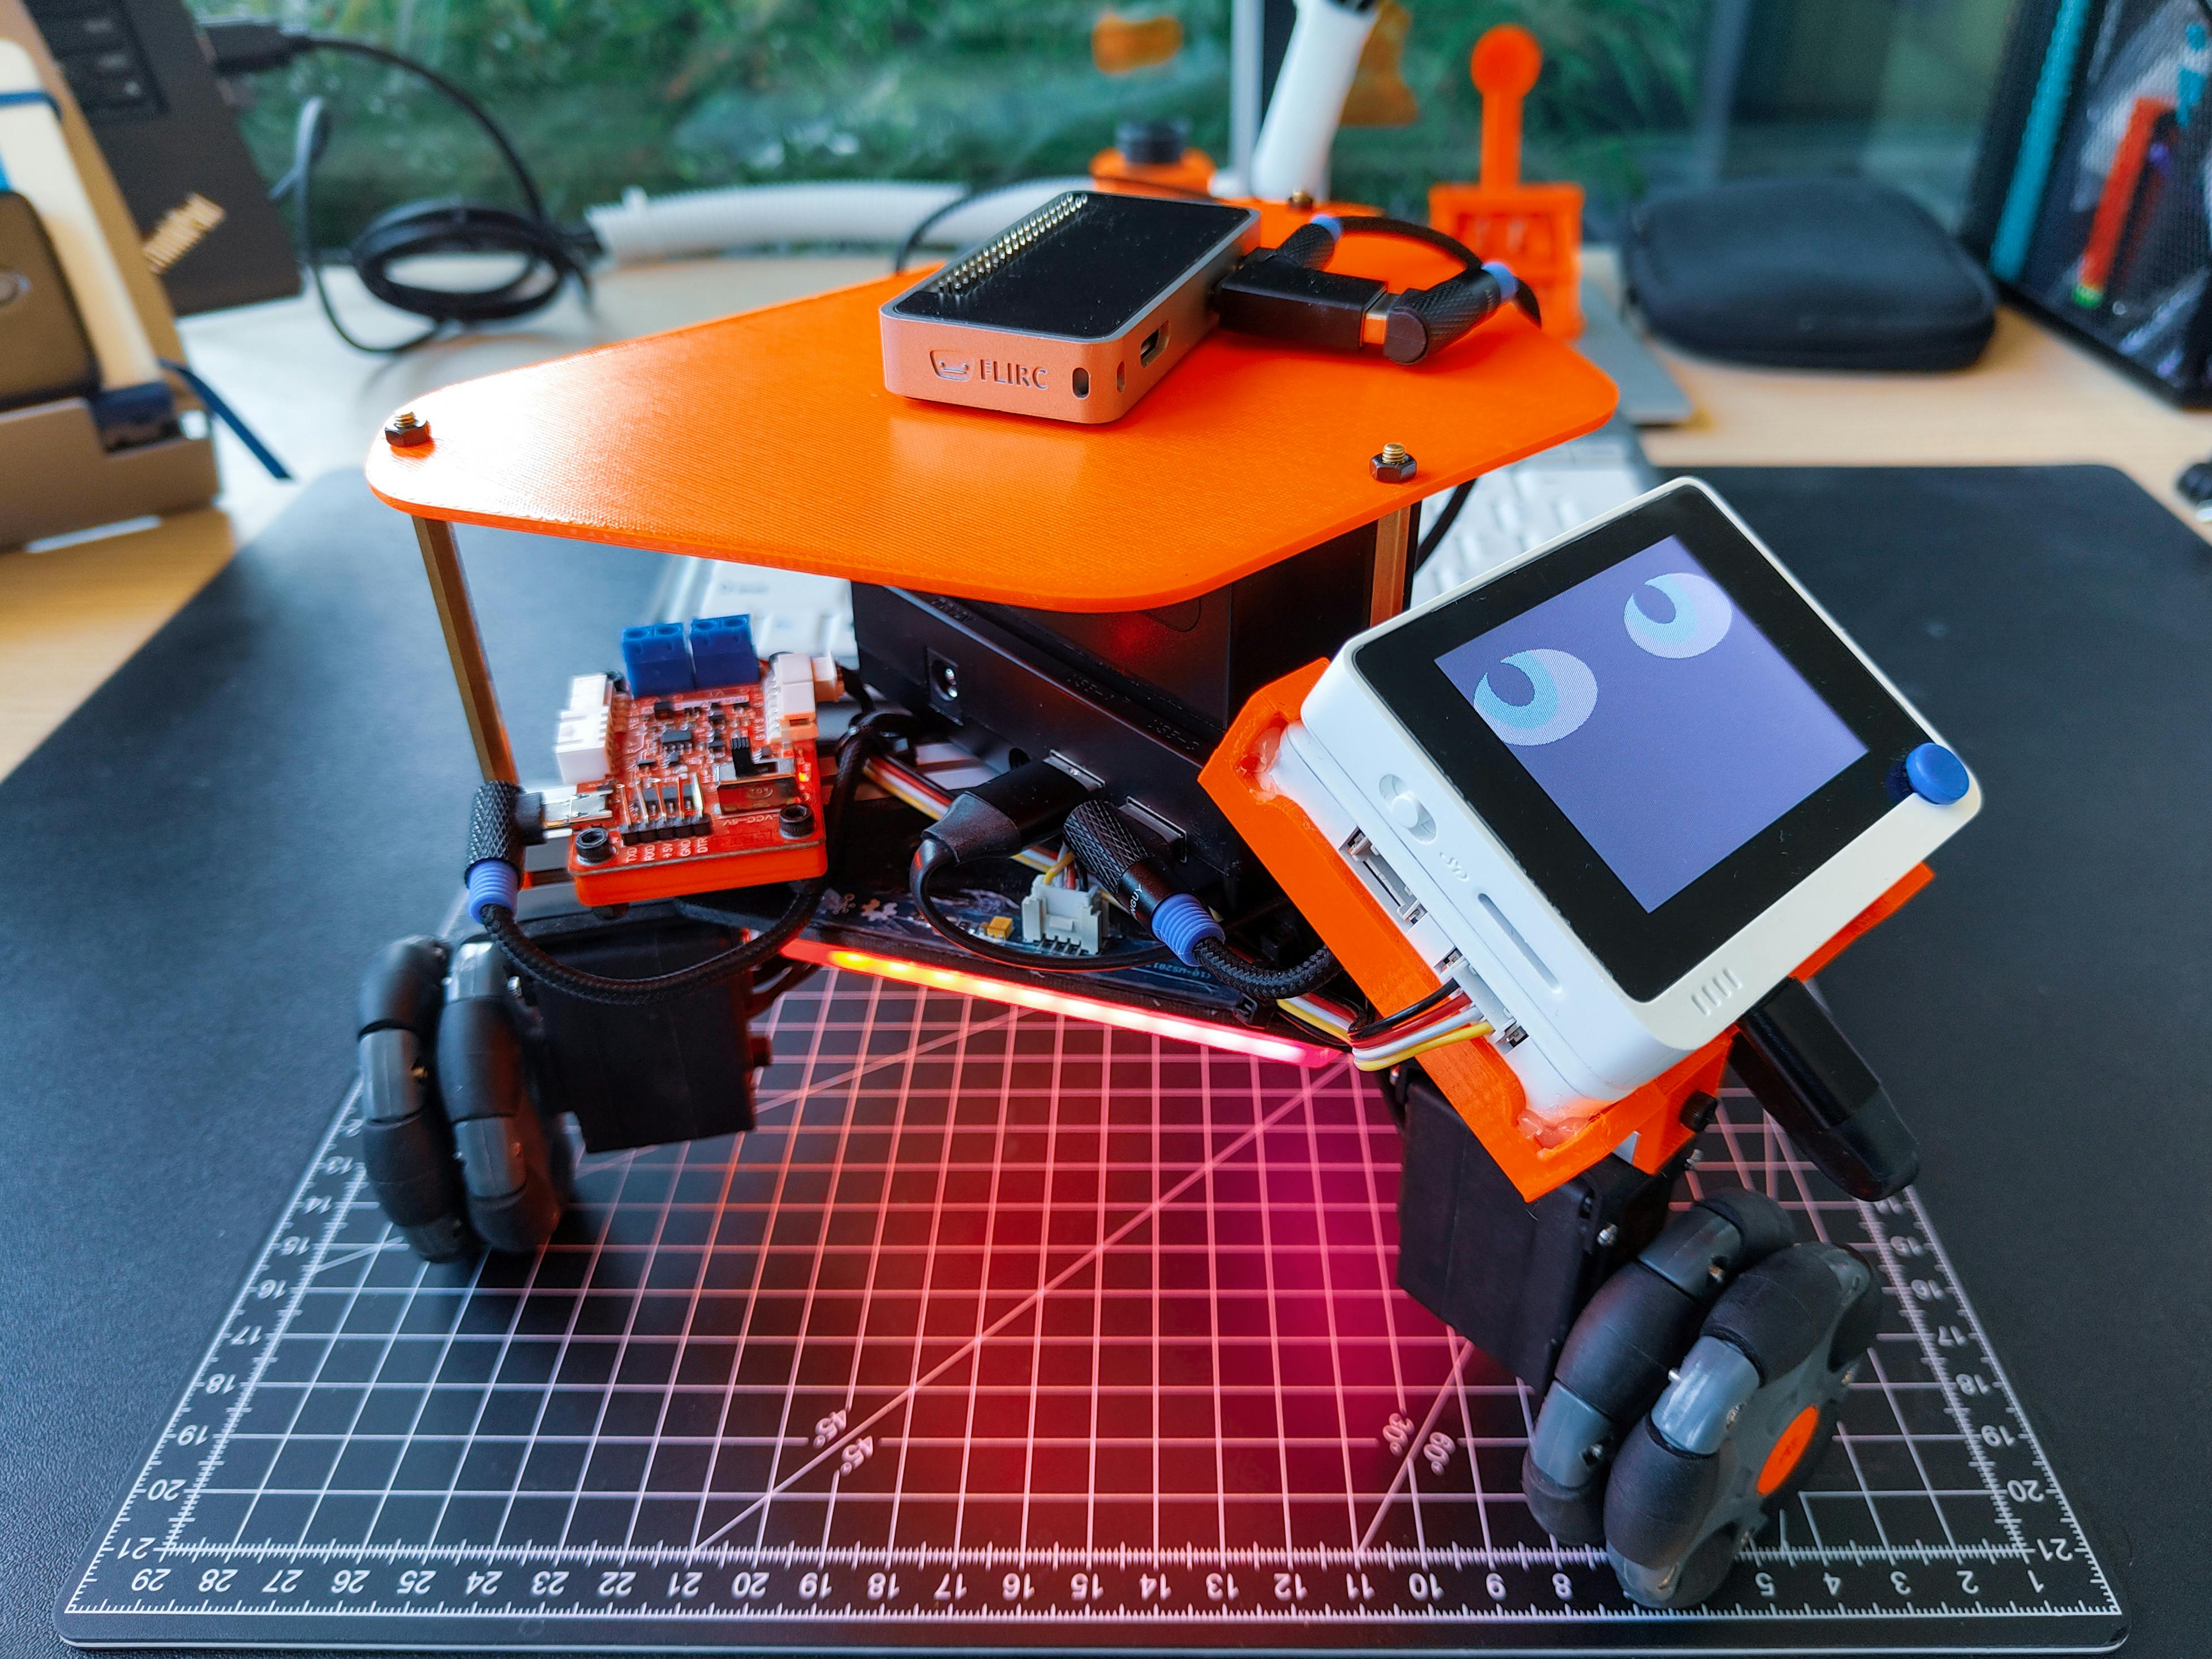
With this, the Wio Terminal now only controls the bottom-facing LEDs and the Uncanny Eyes display. Eventually, it will connect to the Raspberry Pi over micro-ROS Serial and will only be used for data visualization and to change LED colors based on the robot's state.
Next, I had to find a way to control the motors programmatically using the Raspberry Pi. Upon investigating available libraries and SDKs, I found a Python implementation - a copy of the SCServo_Python SDK which is not on GitHub.
The documentation led me to this repository on Gitee with all the official SDKs and libraries by Feetech, where I found SCServo_Linux, the C++ drivers for the servo motors. I chose to use this C++ implementation instead of the Python one since I want to eventually write a hardware interface for the Feetech STS3215 motors to use with ros2_control (which is written in C++).
SCServo_Linux - first impressions
I started by downloading the latest zip file of the package from Gitee, extracting the C++ libraries to the Raspberry Pi, and building and trying out the provided examples. The provided examples work very well, and there also seems to be enough documentation within the code. The documentation is all in Chinese but can be easily translated by any online service, which is sufficient for now. There are also a few videos on YouTube but also in Chinese.
The SCServo_Linux package provides libraries for different series of servos from Feetech, but for this weekend's project, I only looked at the library for the SMS/STS series of motors, which the STS3215 is a part of.
This library lacks some of the advertised functionalities of the motor. This link to the product page shows that the motor can operate in 4 modes:
Mode 0: Standard servo mode, with position control
Mode 1: Wheel mode, with closed-loop speed control
Mode 2: Wheel mode in open loop, which accepts PWM values
Mode 3: Step mode (I chose to ignore this for now)
For Mode 0, the library provides 3 methods to write position inputs:
A general
Writefunction for an individual motorAn asynchronous
RegWritefunction for an individual motorA synchronized
SyncWritefunction for multiple motors in the chain.
For Mode 1, the library provides one function to set the mode and a general WriteSpe function for a single motor. For Mode 2 and Mode 3, no functions are provided.
The library also provides functions to read feedback messages from each motor with data such as Position, Speed, Load/PWM percentage, Voltage, Current and Temperature.
Another feature of this motor and the library is the ability to set any point as the midpoint of the position range. This lets you calibrate any servo to 0 (or 2048 in this case the servo ranges from 0-4095) instantly. However, as explained later, this only seems to work if the motor is set to Mode 0.
Library updates
My first point of action was to add the ability to set the motor to Mode 2. There's already a function WheelMode(ID) that sets the motor to Mode 1, and the corresponding WriteSpe(ID, Speed, Acc) which sets the reference speed and acceleration. However, I have an issue with this. This method needs to have an acceleration value to make the motion smoother. But this makes the motor less responsive to changes in the reference speed. I tried absolutely everything, but there seems to be a default acceleration value somewhere, which makes the motor slow to react to reference value changes no matter what I set the acceleration value to.
My only option here was to set the motor to Mode 2, and let ros2_control take care of the control system, especially since the speed/position/PWM values from the motor feedback are really precise. So, I updated the WheelMode(ID) function into Mode(ID, Mode) which takes the mode value as an input and sets it accordingly.
In Mode 2, the motor accepts PWM values as inputs, which range from 1000 (100% forward) to -1000 (100% reverse). I added a function WritePwm(ID, Pwm) to write to the appropriate SRAM register. I then added RegWrite and SyncWrite functions like in Mode 0 to Mode 1 and 2:
RegWriteSpe(ID, Speed, Acc)andSyncWriteSpe(ID[], IDN, Speed[], Acc[])to asynchronously write speed/acceleration values to 1 motor, or synchronize multiple motors in Mode 1,
- and
RegWritePwm(ID, Speed, Pwm)andSyncWritePwm(ID[], IDN, Pwm[])to write PWM values in Mode 2
In the RegWrite function, the write instruction is executed immediately when the instruction is received, i.e. asynchronously. More info about the async write functionality can be found here in this documentation of the Dynamixel Protocol. The functionality of the Feetech motors is very similar, and for me, I prefer it to the general Write function. As for Mode 3, I decided not to spend time on it and instead moved on to modify the provided examples.
Updated Examples
My goal with this was to support my 3-wheeled robot and update the examples to support all three motors together. I also wanted to try out my new implementations of Modes 1 and 2, and the RegWrite/SyncWrite functions. I also created an example to read feedback information from the motors and print them with their correct units (radians, rad/s, etc) instead of the motor units (steps, steps/s, etc). I struggled to find the conversion factors for a while, but eventually found all of them on the product page for the motor. The following videos show the RegWrite and SyncWrite examples for each mode. In the second video, the SyncWrite functionality does not work well in Mode 1.
Finally, I updated all my modified examples with comments in English, stored them in a separate directory called sandbox
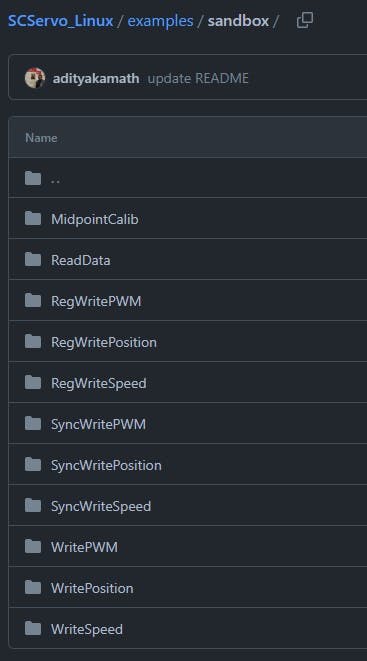
The complete library along with the modifications and updates can be found here.
Challenges / ToDo
I made a few observations while executing these example files. For Mode 2, the RegWritePwm and SyncWritePwm both work really well and exactly as expected. However, for Mode 1, only RegWriteSpe functionality works. The synchronized SyncWriteSpe functionality works for a few loops, however quickly starts to fail. The motors then start to move randomly, which is quite strange. I need to investigate this further, but it can wait since I plan on continuing with Mode 2 for now. The failing SyncWriteSpe can be seen in the video below:
The library also provides the functionality to zero the motor, or in this case, set the midpoint (to 2048) since the motor position ranges from 0 to 4095. I wanted to try and make use of this functionality during initialization, but it seems to work only when the motor is set to Mode 0. It just does not set any position values when in Mode 1 or 2.
There are a few things I ignored during this project - firstly Mode 3. I'm not entirely sure how it works and I still need to test it out. Next are the protection settings - overload, overheating, overcurrent, and overvoltage protections. I haven't encountered them so far, and I'm not event sure what happens if one of these protections is triggered.
Finally, I also need to play with the other variable values in the EEPROM and SRAM, but that is for another time. I have two spare STS3215 motors just to test out the different modes, settings, and configurations of the motor.

Update: Enable/Disable Torque
While trying out the different settings and configurations, I wanted to try enabling and disabling torque on the motors in different modes. I noted a few things:
The enable/disable torque functionality does not work in any of the modes (I tried only Modes 0-2), in these modes, the torque is enabled by default. However, these default torque values seem to be different for each mode. In Modes 0 and 1, if I set the position or speed to 0, I am unable to move the wheels by hand. However in Mode 2, if I set the PWM to 0, I am still able to move the wheels, albeit really slowly and with a lot of force.
When the motor is in any of the modes, disabling the torque stops the action of the motor completely. So, for example, the PWM is set to 50% in mode 2, disabling the torque stops the motor entirely, and the motor is now able to be moved by hand. When the torque is disabled, data from the onboard sensors can still be read.
It seems impossible to both set the position/speed/PWM in either of the three modes and also move the wheels by hand by disabling the torque, together. So for applications involving some sort of assisted motion (like pedal-assist on an e-bike), this motor is not suitable. I am unsure if this can be fixed with a software change or if there are any hardware limitations.
Next Up
At the time of typing this, I haven't heard back from PostNL about the estimated arrival of my package. This is getting really annoying now, the motors and encoders were shipped more than a month ago and the package has been sitting in the PostNL delivery center for more than 10 days now. Once they arrive, I can continue with implementing the hardware interface using the Inventor HAT and then use it with diff_drive_controller.
Oh, and I purchased yet another robot. It was my birthday recently, and I've been waiting to get myself a gift (and spend some gift cards I received on my birthday). I had to wait a week, but then it was finally launched on the 1st of June - the Lego Perseverance Rover! It is steerable and has flexible suspension, I cannot wait to build it. I've also seen people talking about motorizing the model, which did tempt me a bit, but I have way too many side projects already...
/cdn.vox-cdn.com/uploads/chorus_asset/file/24675639/mars_lego_2.jpg)
As for the Feetech motors, I also want to use ros2_control here, but there aren't any standard controllers for 3 omni-wheeled robots. I plan on writing one myself. While I get to that stage, I would at least like to implement the hardware interfaces for these motors and use them with the standard Position, Velocity and Effort (Forward Command) controllers. I think I can already start with this implementation using my spare STS3215 servos, I will anyways be waiting a while for both the Pimoroni motors and the Lego rover...