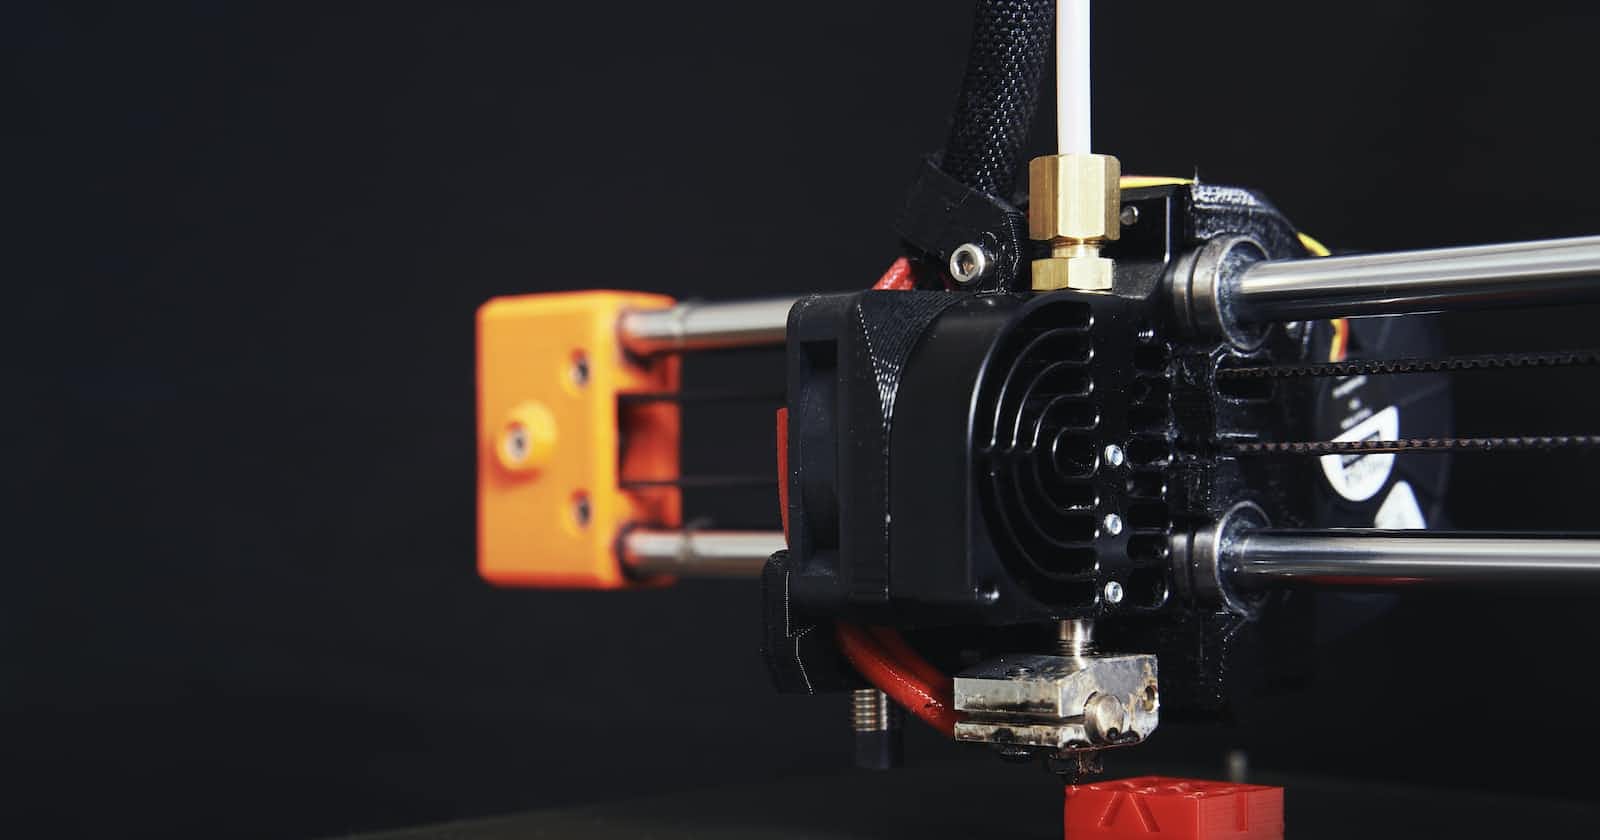

Photo by Christian Englmeier on Unsplash
Upgrading my Prusa Mini
Printer upgrades + Octoprint + Gridfinity

For a change, this post is not entirely robotics related. Last week, I received a new Raspberry Pi Zero 2 W, which I had purchased specifically to install Octoprint, in order to access and control my Prusa Mini+ over the internet. But first, I had to make some hardware upgrades.
My first step was to add a lamp. I searched through Printables and found this lamp mount. It is actually a cold shoe mount, which means I can attach anything to it, like a camera. This mount press-fits on top of the z-axis, which was a problem as I had already printed and attached a spool holder there. So, I decided to fuse the two 3D models and created this spool + lamp holder.
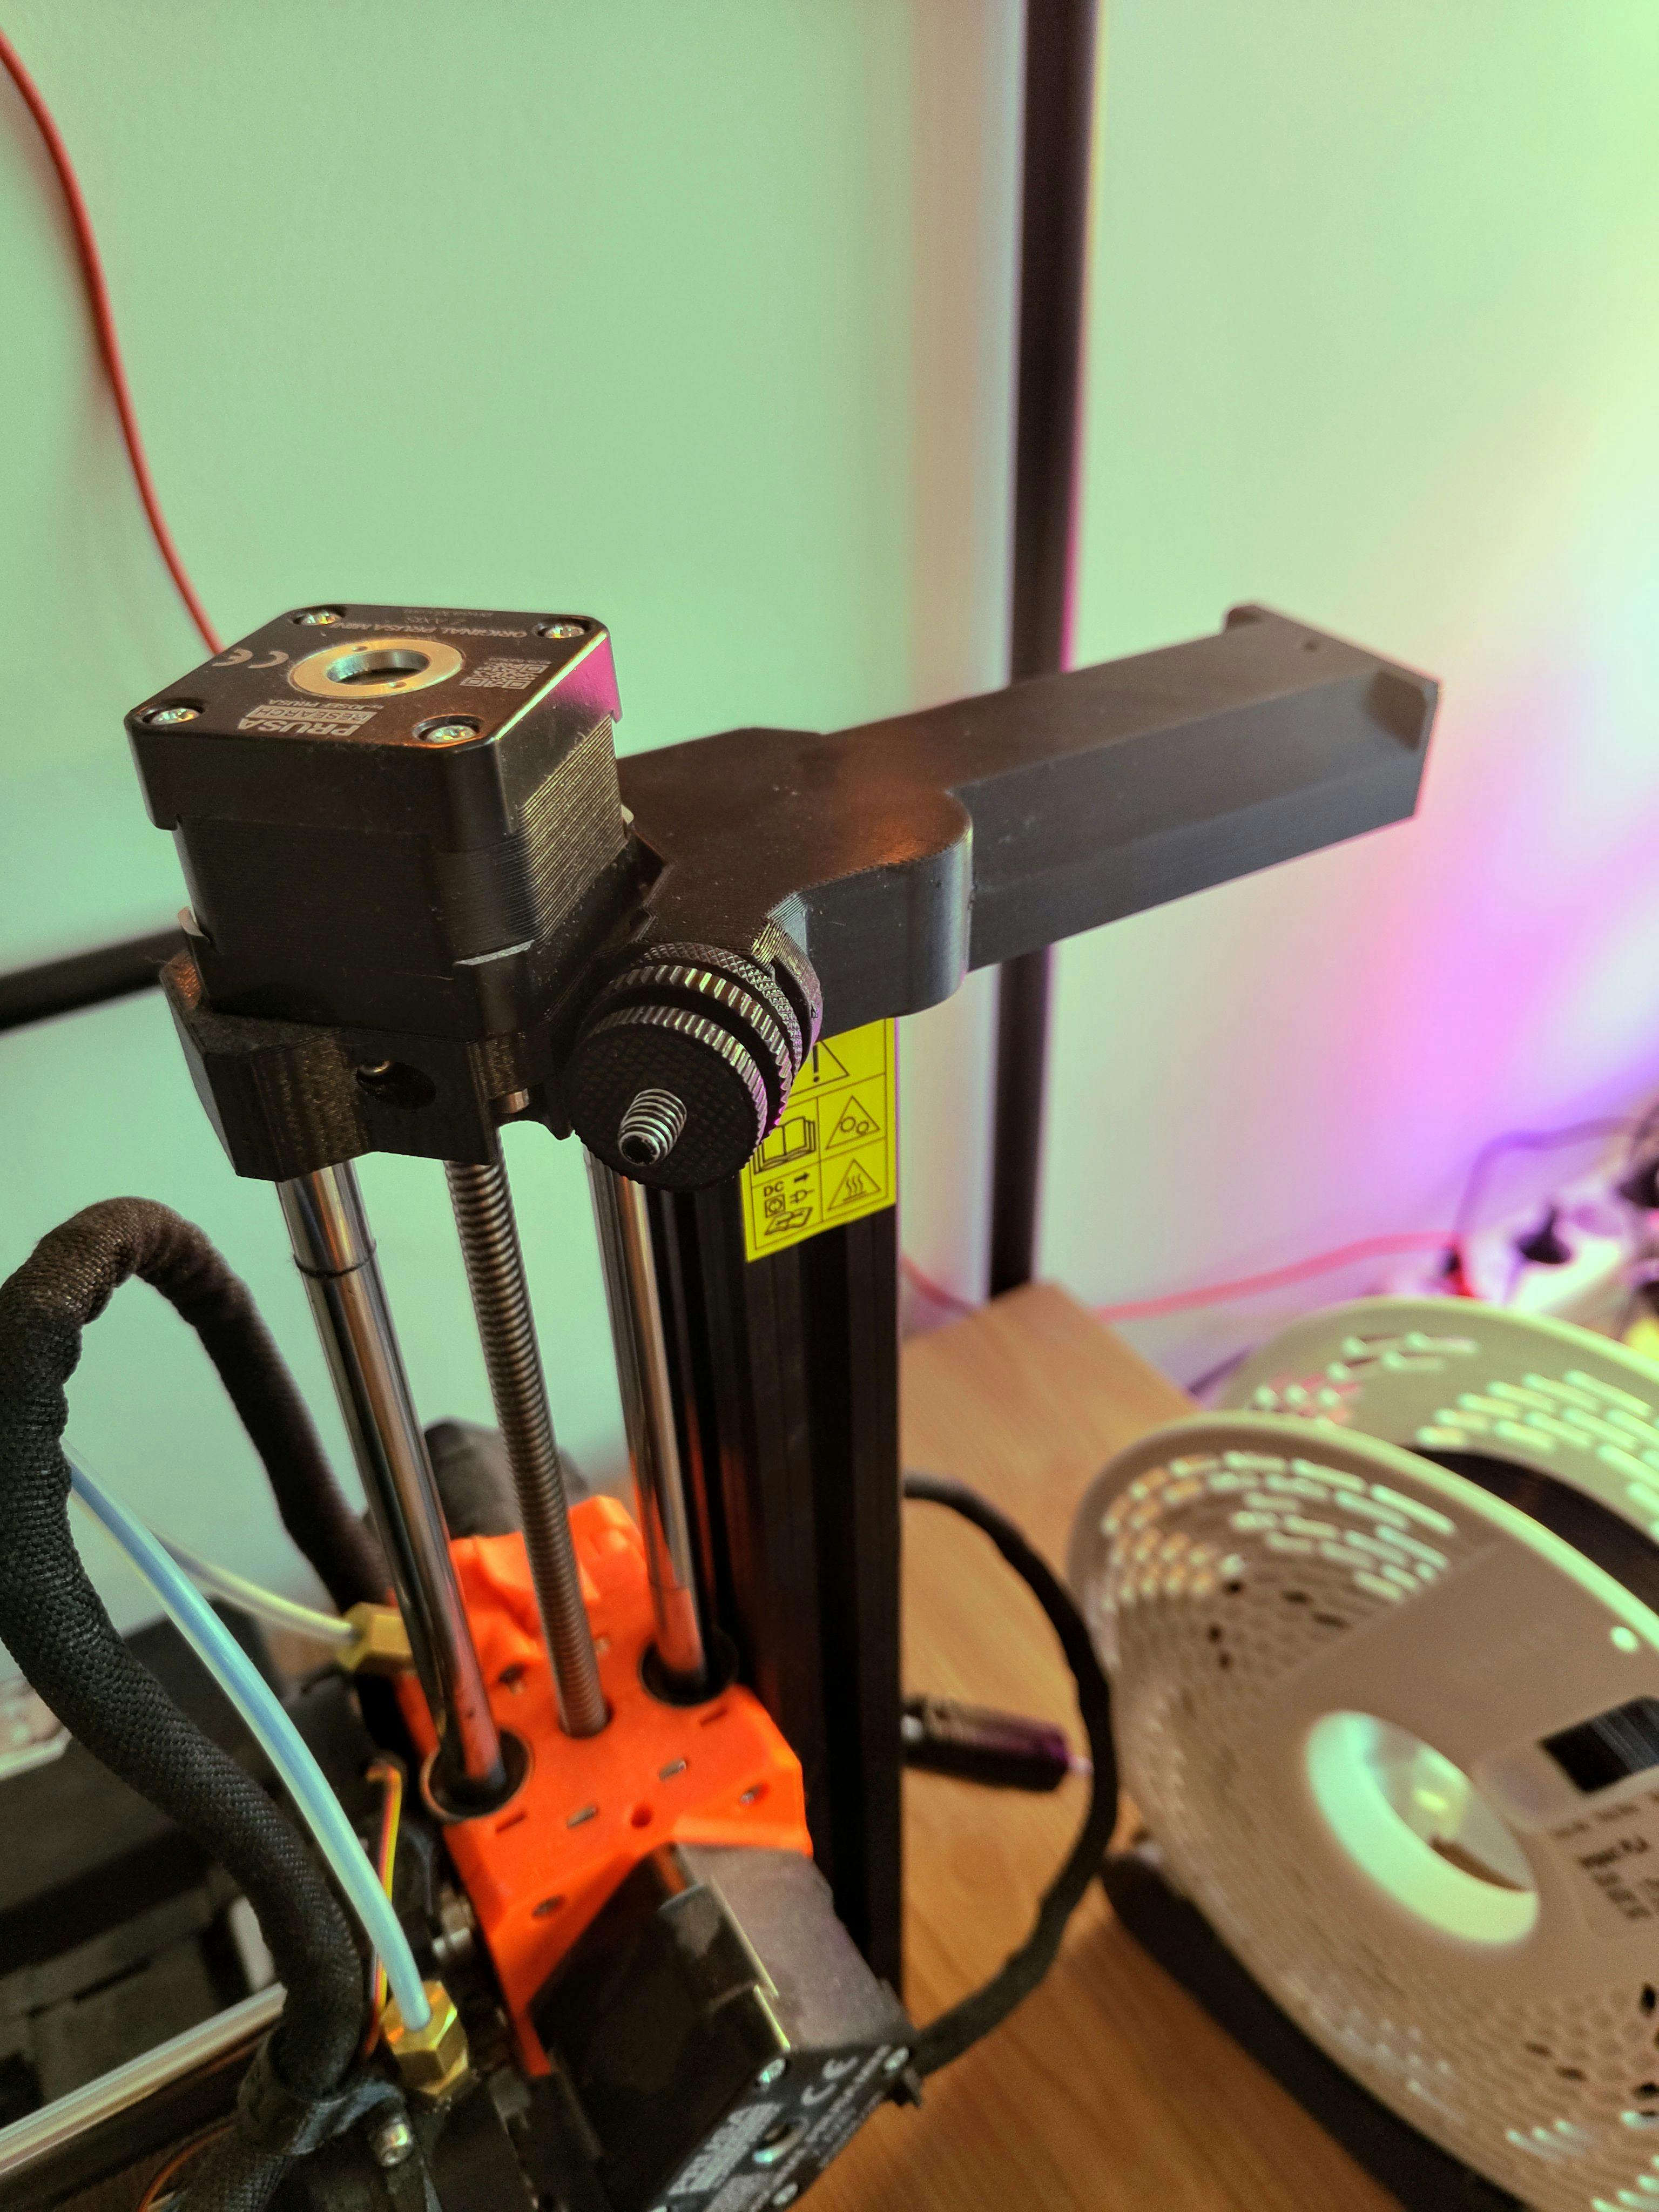
While at it, I also printed and attached a handle to the Prusa Mini, and added a filament sensor holder.
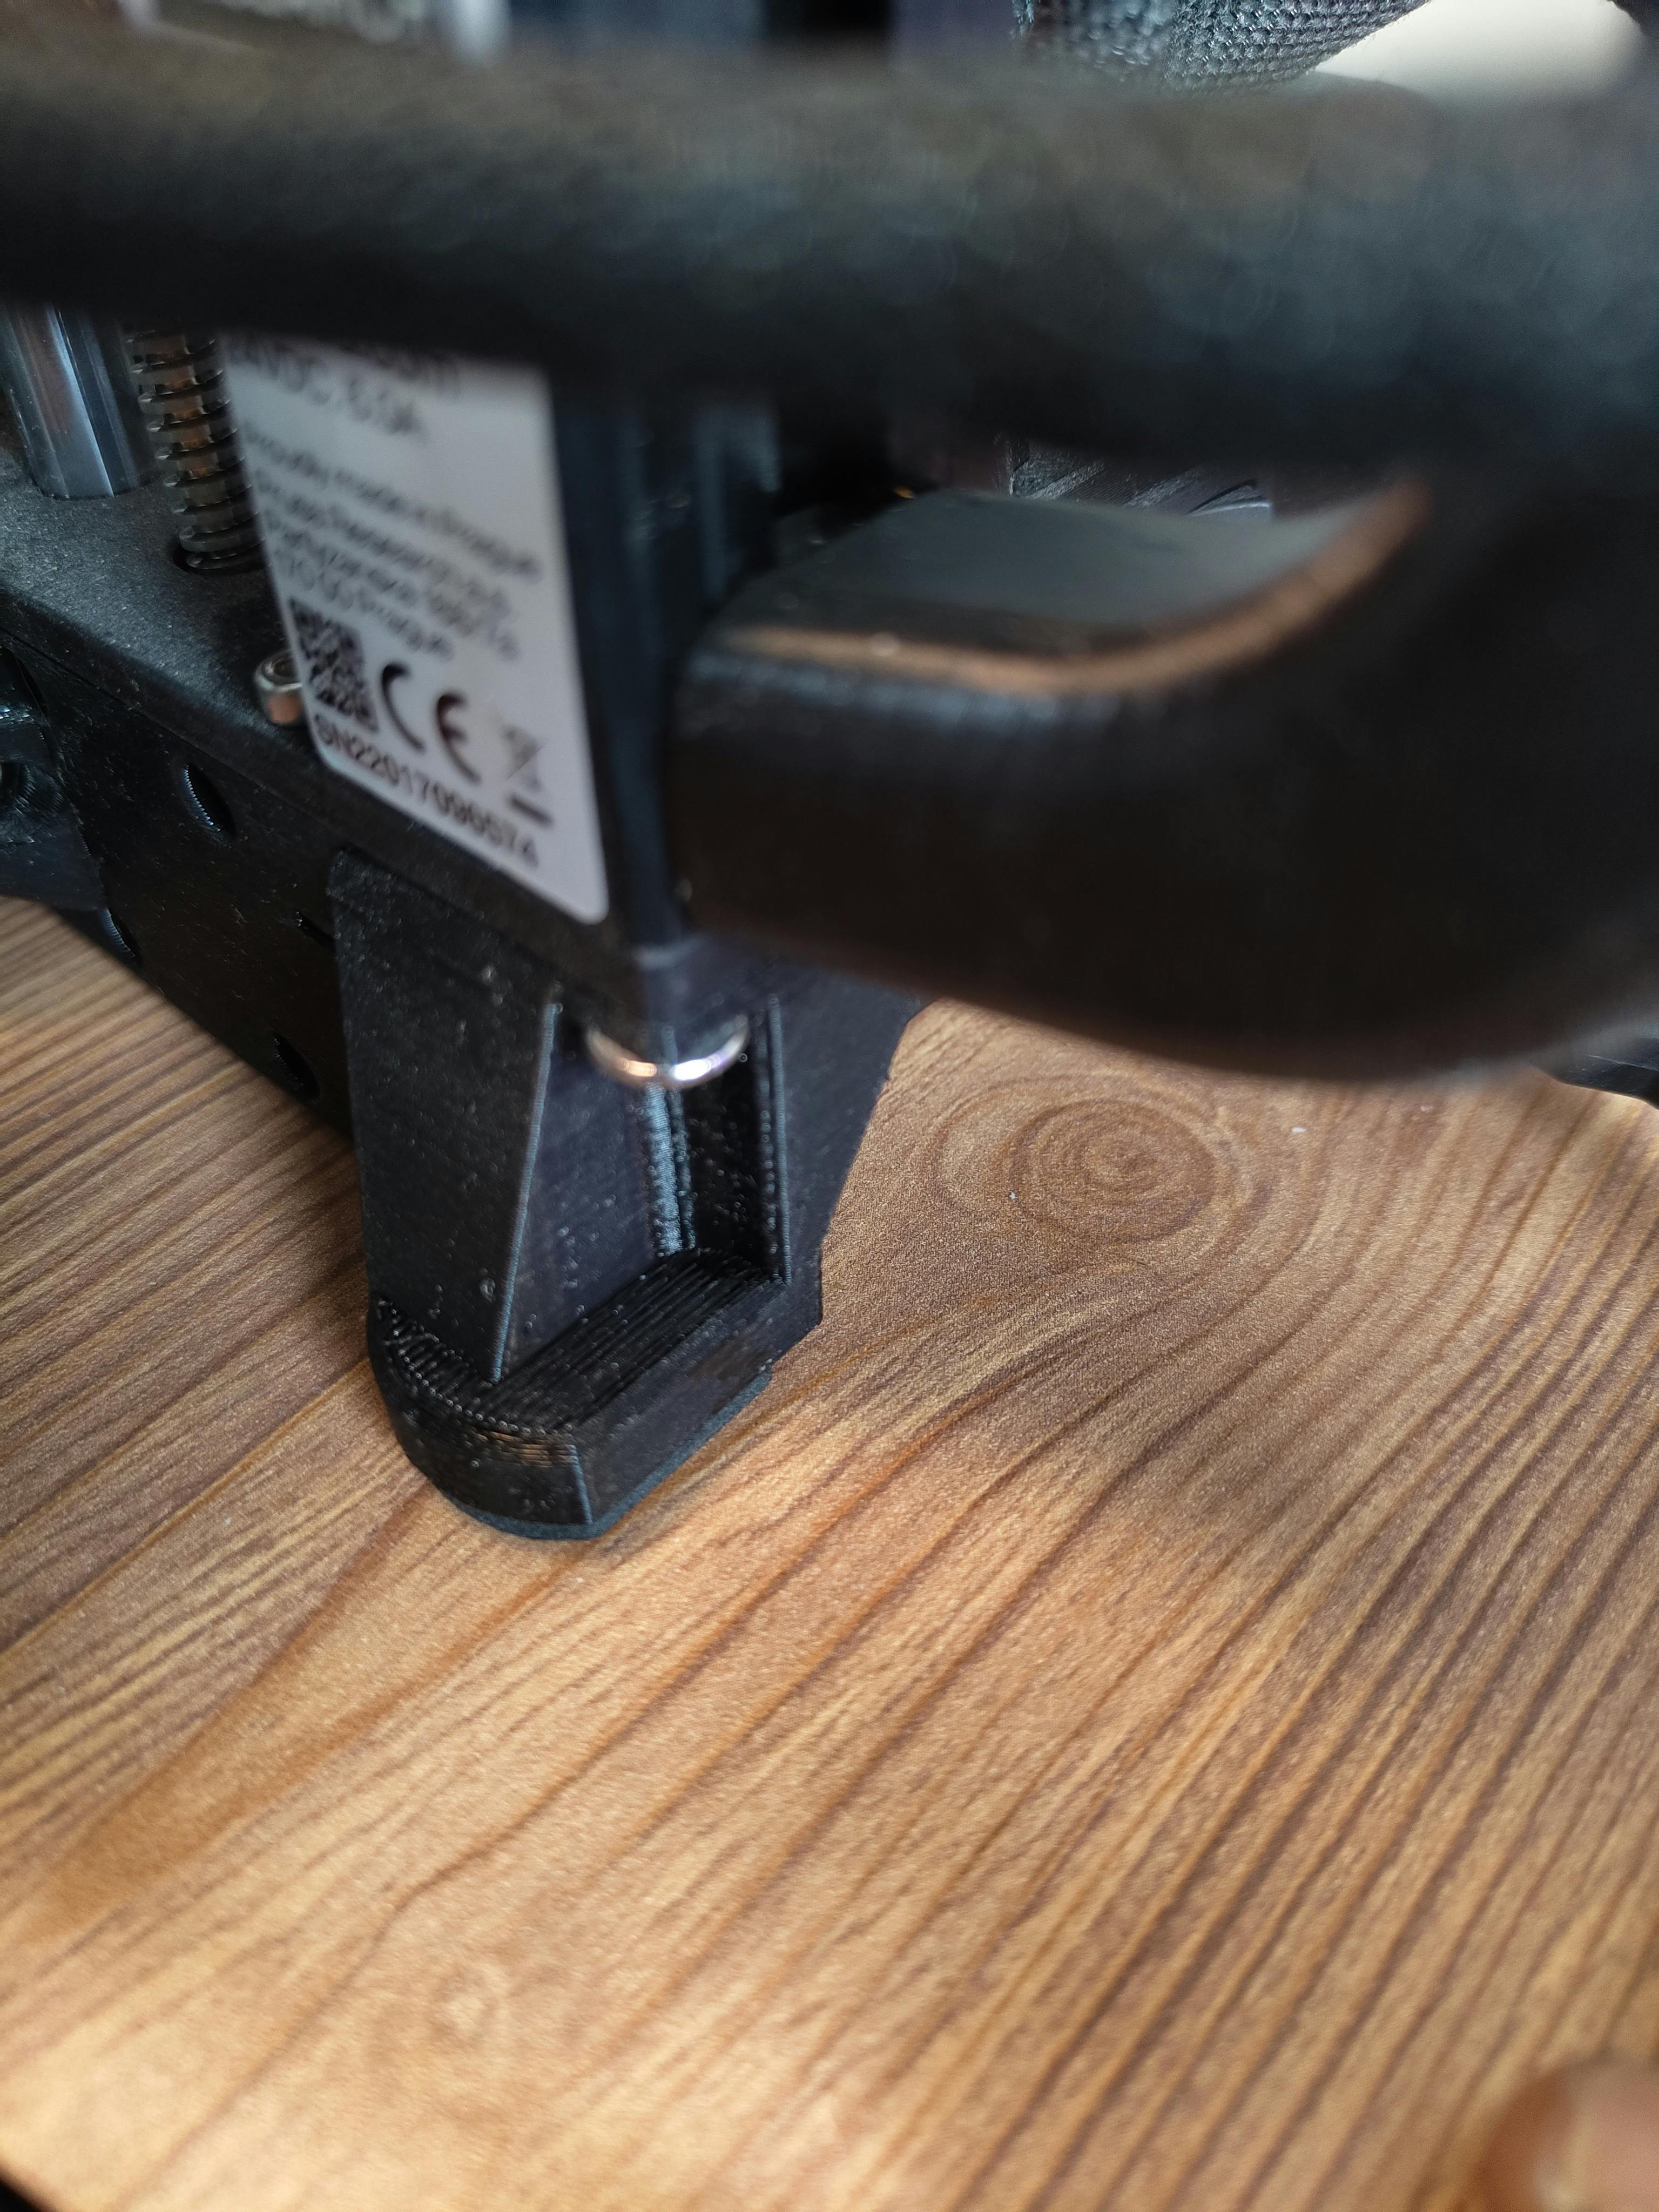
I eventually realized that a full spool of filament causes the 3D printer to wobble and went in search of another alternative. I could have gone back to the original spool holder that came with the printer, but I had already disassembled that and used the bearings for another 3D print that I'll talk about later. I came across two potentially useful prints on Printables - a diagonal spool holder and a z-axis foot. I first fused the diagonal spool holder + lamp holder just like earlier.

This by itself was able to fix the instability issues, and with the z-axis foot, the printer is now completely stable. I eventually removed the filament sensor holder as it wasn't in the right location anymore, and it was mostly also in the way of the handle.
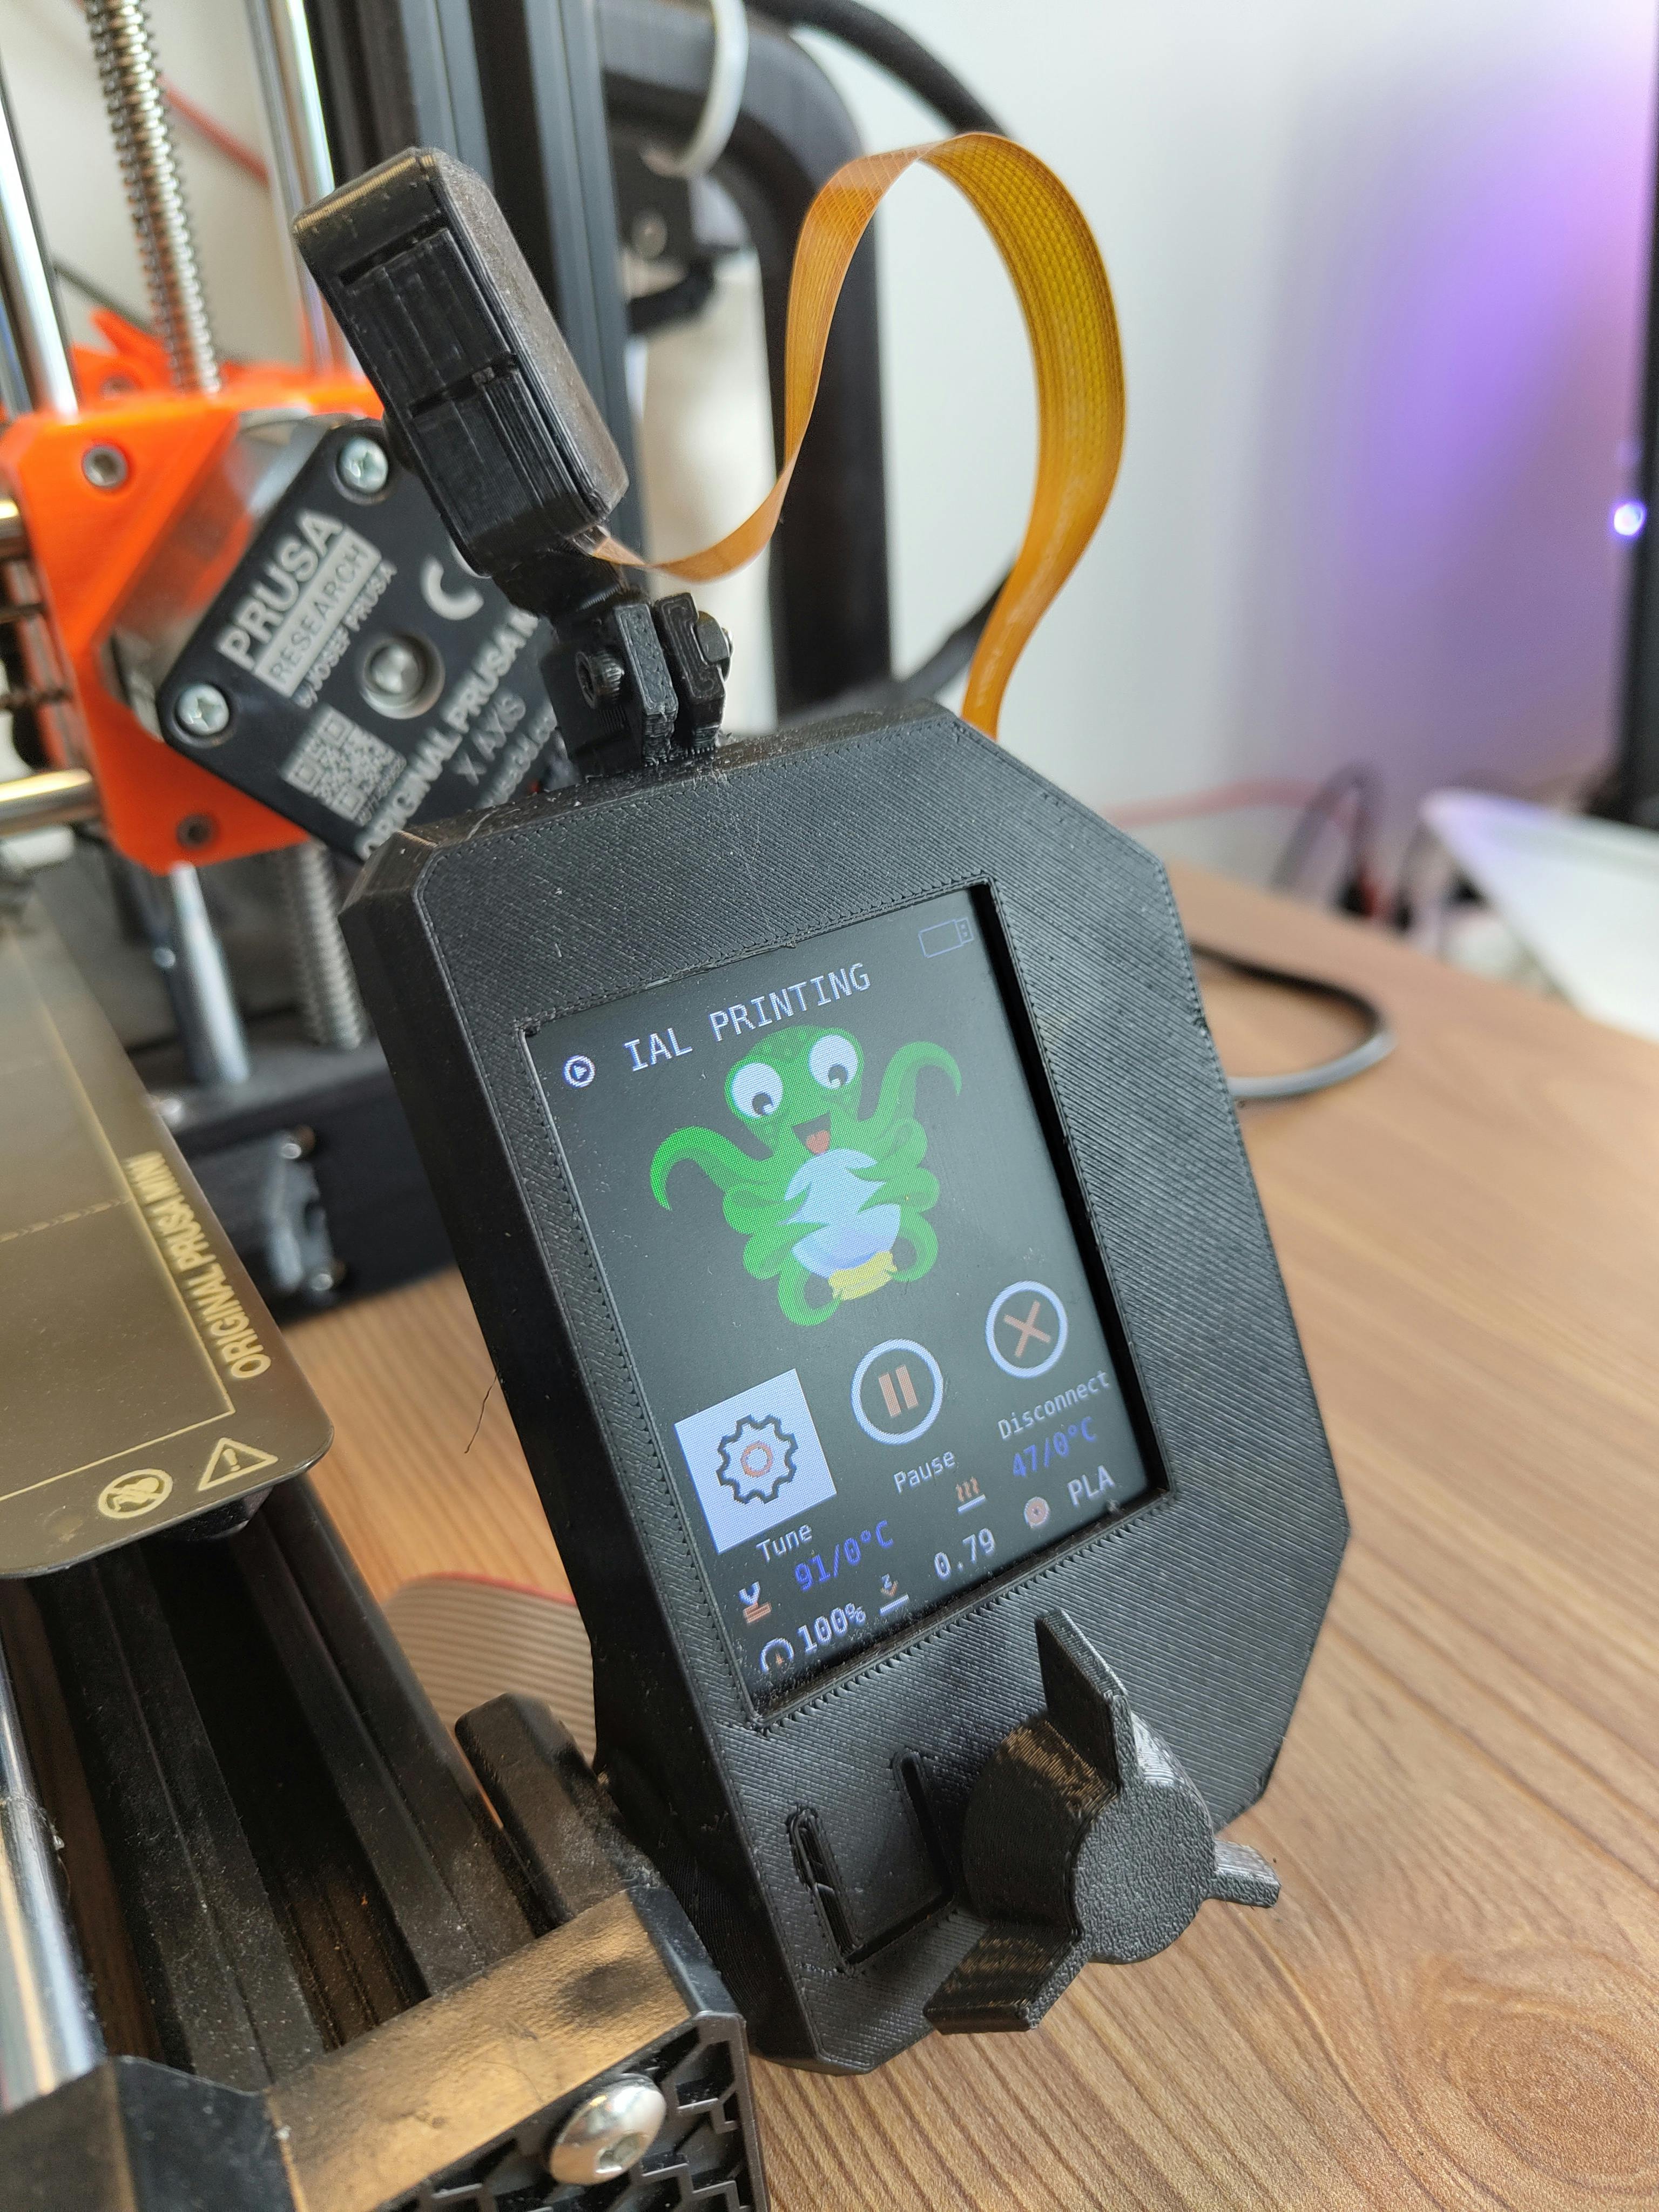
Next, I decided to look for ways to attach the RPi Zero and a RPi Camera v3 to the printer. There are a lot of nice options out there, but I eventually found this LCD screen cover that's been modified to house a RPi Zero and a RPi camera. This was perfect for me, and the prints worked and fit together as expected.
Octoprint
With the hardware ready, I next set up OctoPi (a RPi OS with OctoPrint) with my Raspberry Pi Zero 2W. The Camera v3 does not work on the normal releases of OctoPi. I had to look for the releases that said 'from branch camera-streamer', which supports v3. The latest release with Octoprint 1.9.2 did not work for me, so I tried the one before that which worked as expected. I followed the normal installation procedure and was able to get access to both the printer and the camera. I first installed the OctoEverywhere plugin on OctoPrint and then installed OctoApp on my Android phone. With this, I was all set to access my printer on my phone from anywhere.
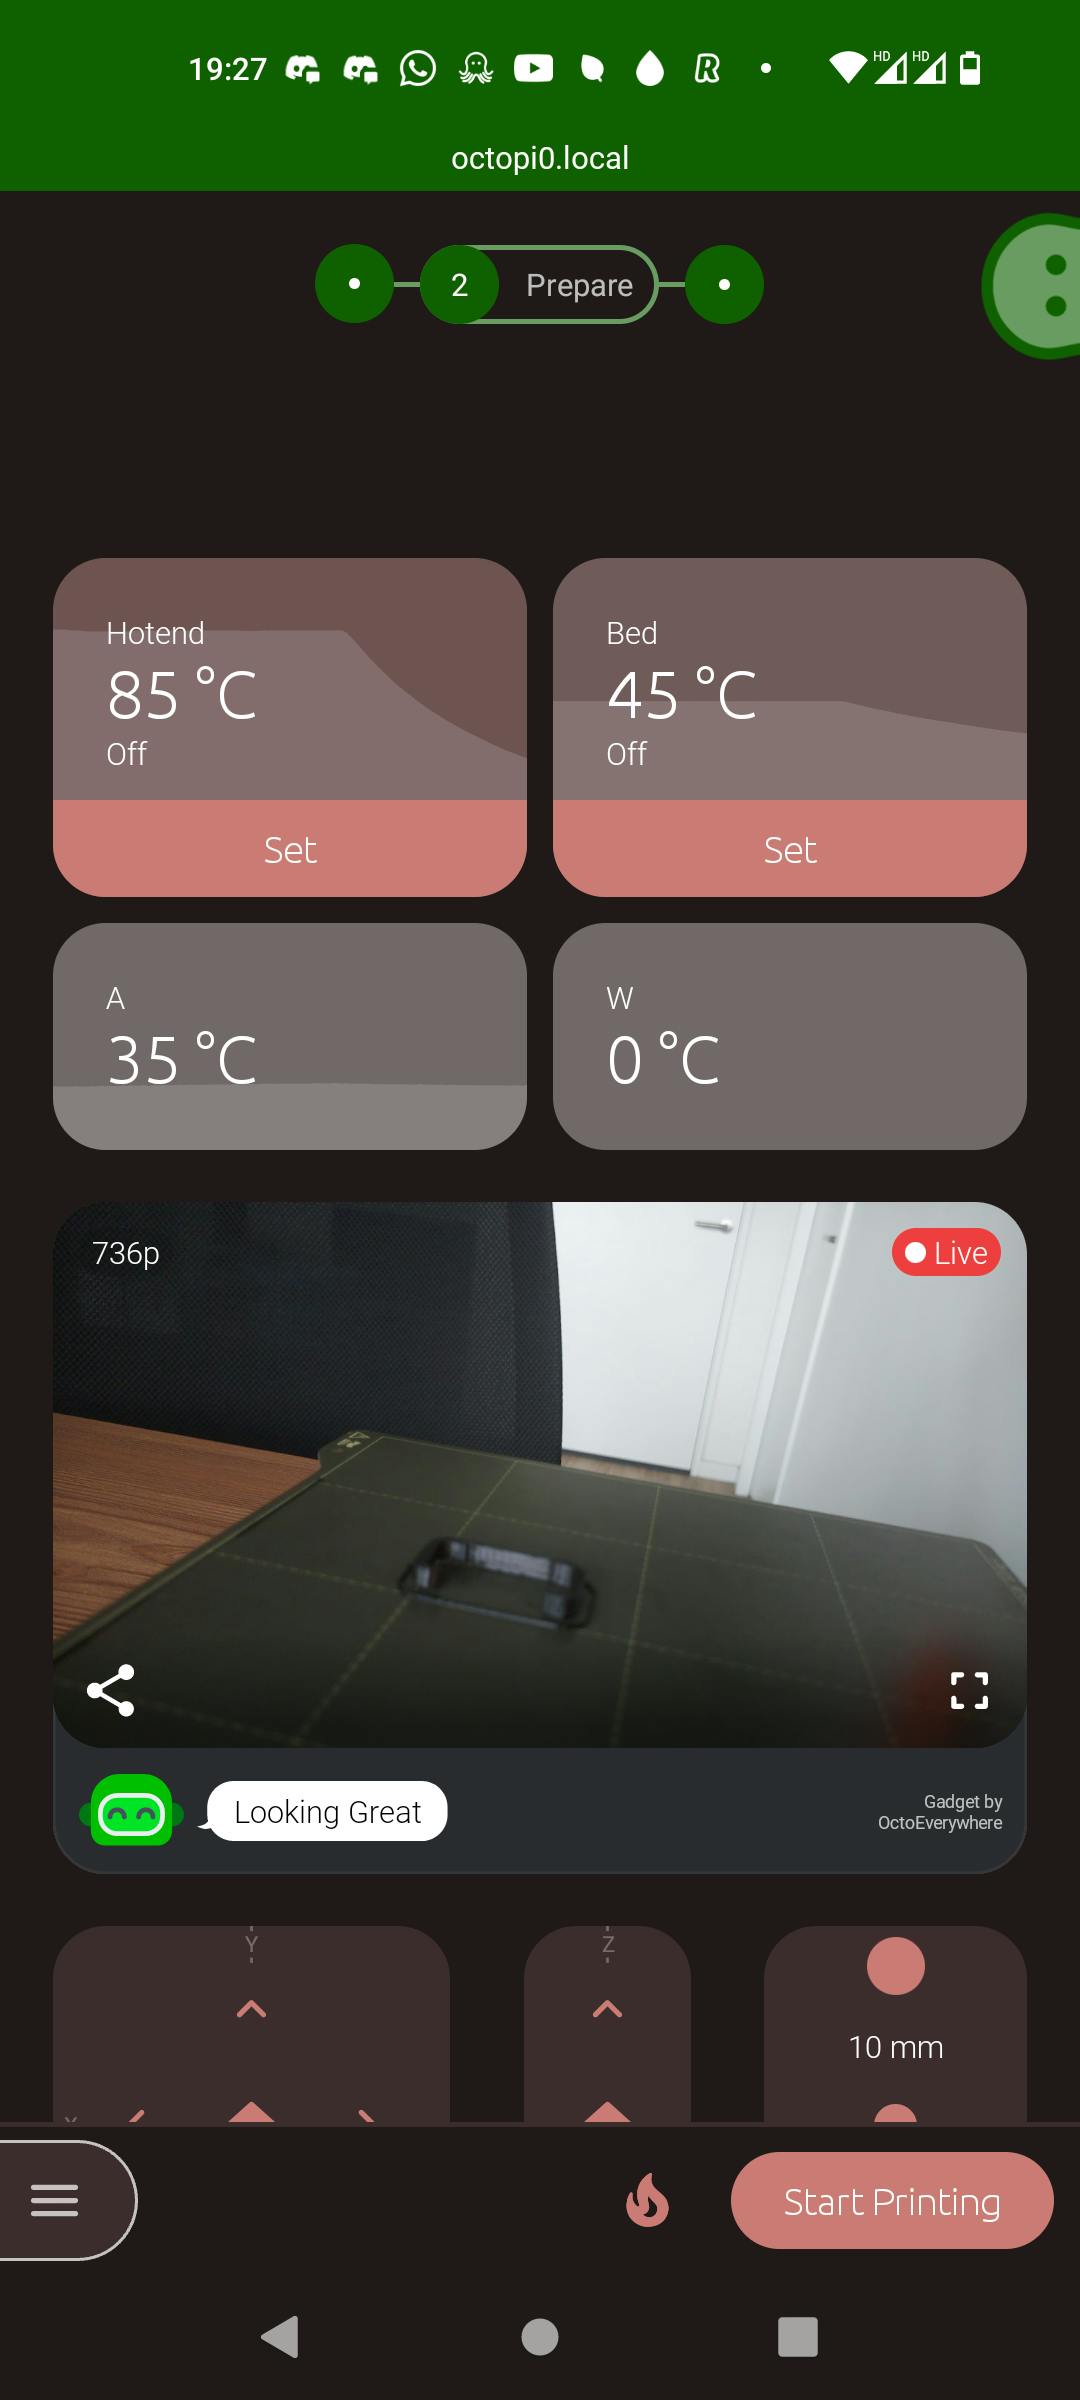
Something I still need to work on is the camera position. With the v3, the camera FOV does not capture the entire print bed. I have two potential solutions in mind - either change the camera - I have a RPi camera with a fisheye lens, or add an intermediate link between the camera and the LCD cover to help me move the camera around. Once I can get this right, I can then configure some timelapse settings.
Other Prints
Other than the Prusa Mini+ upgrades, I also had a little 3D printing spree...
Upcycling empty Prusament spools
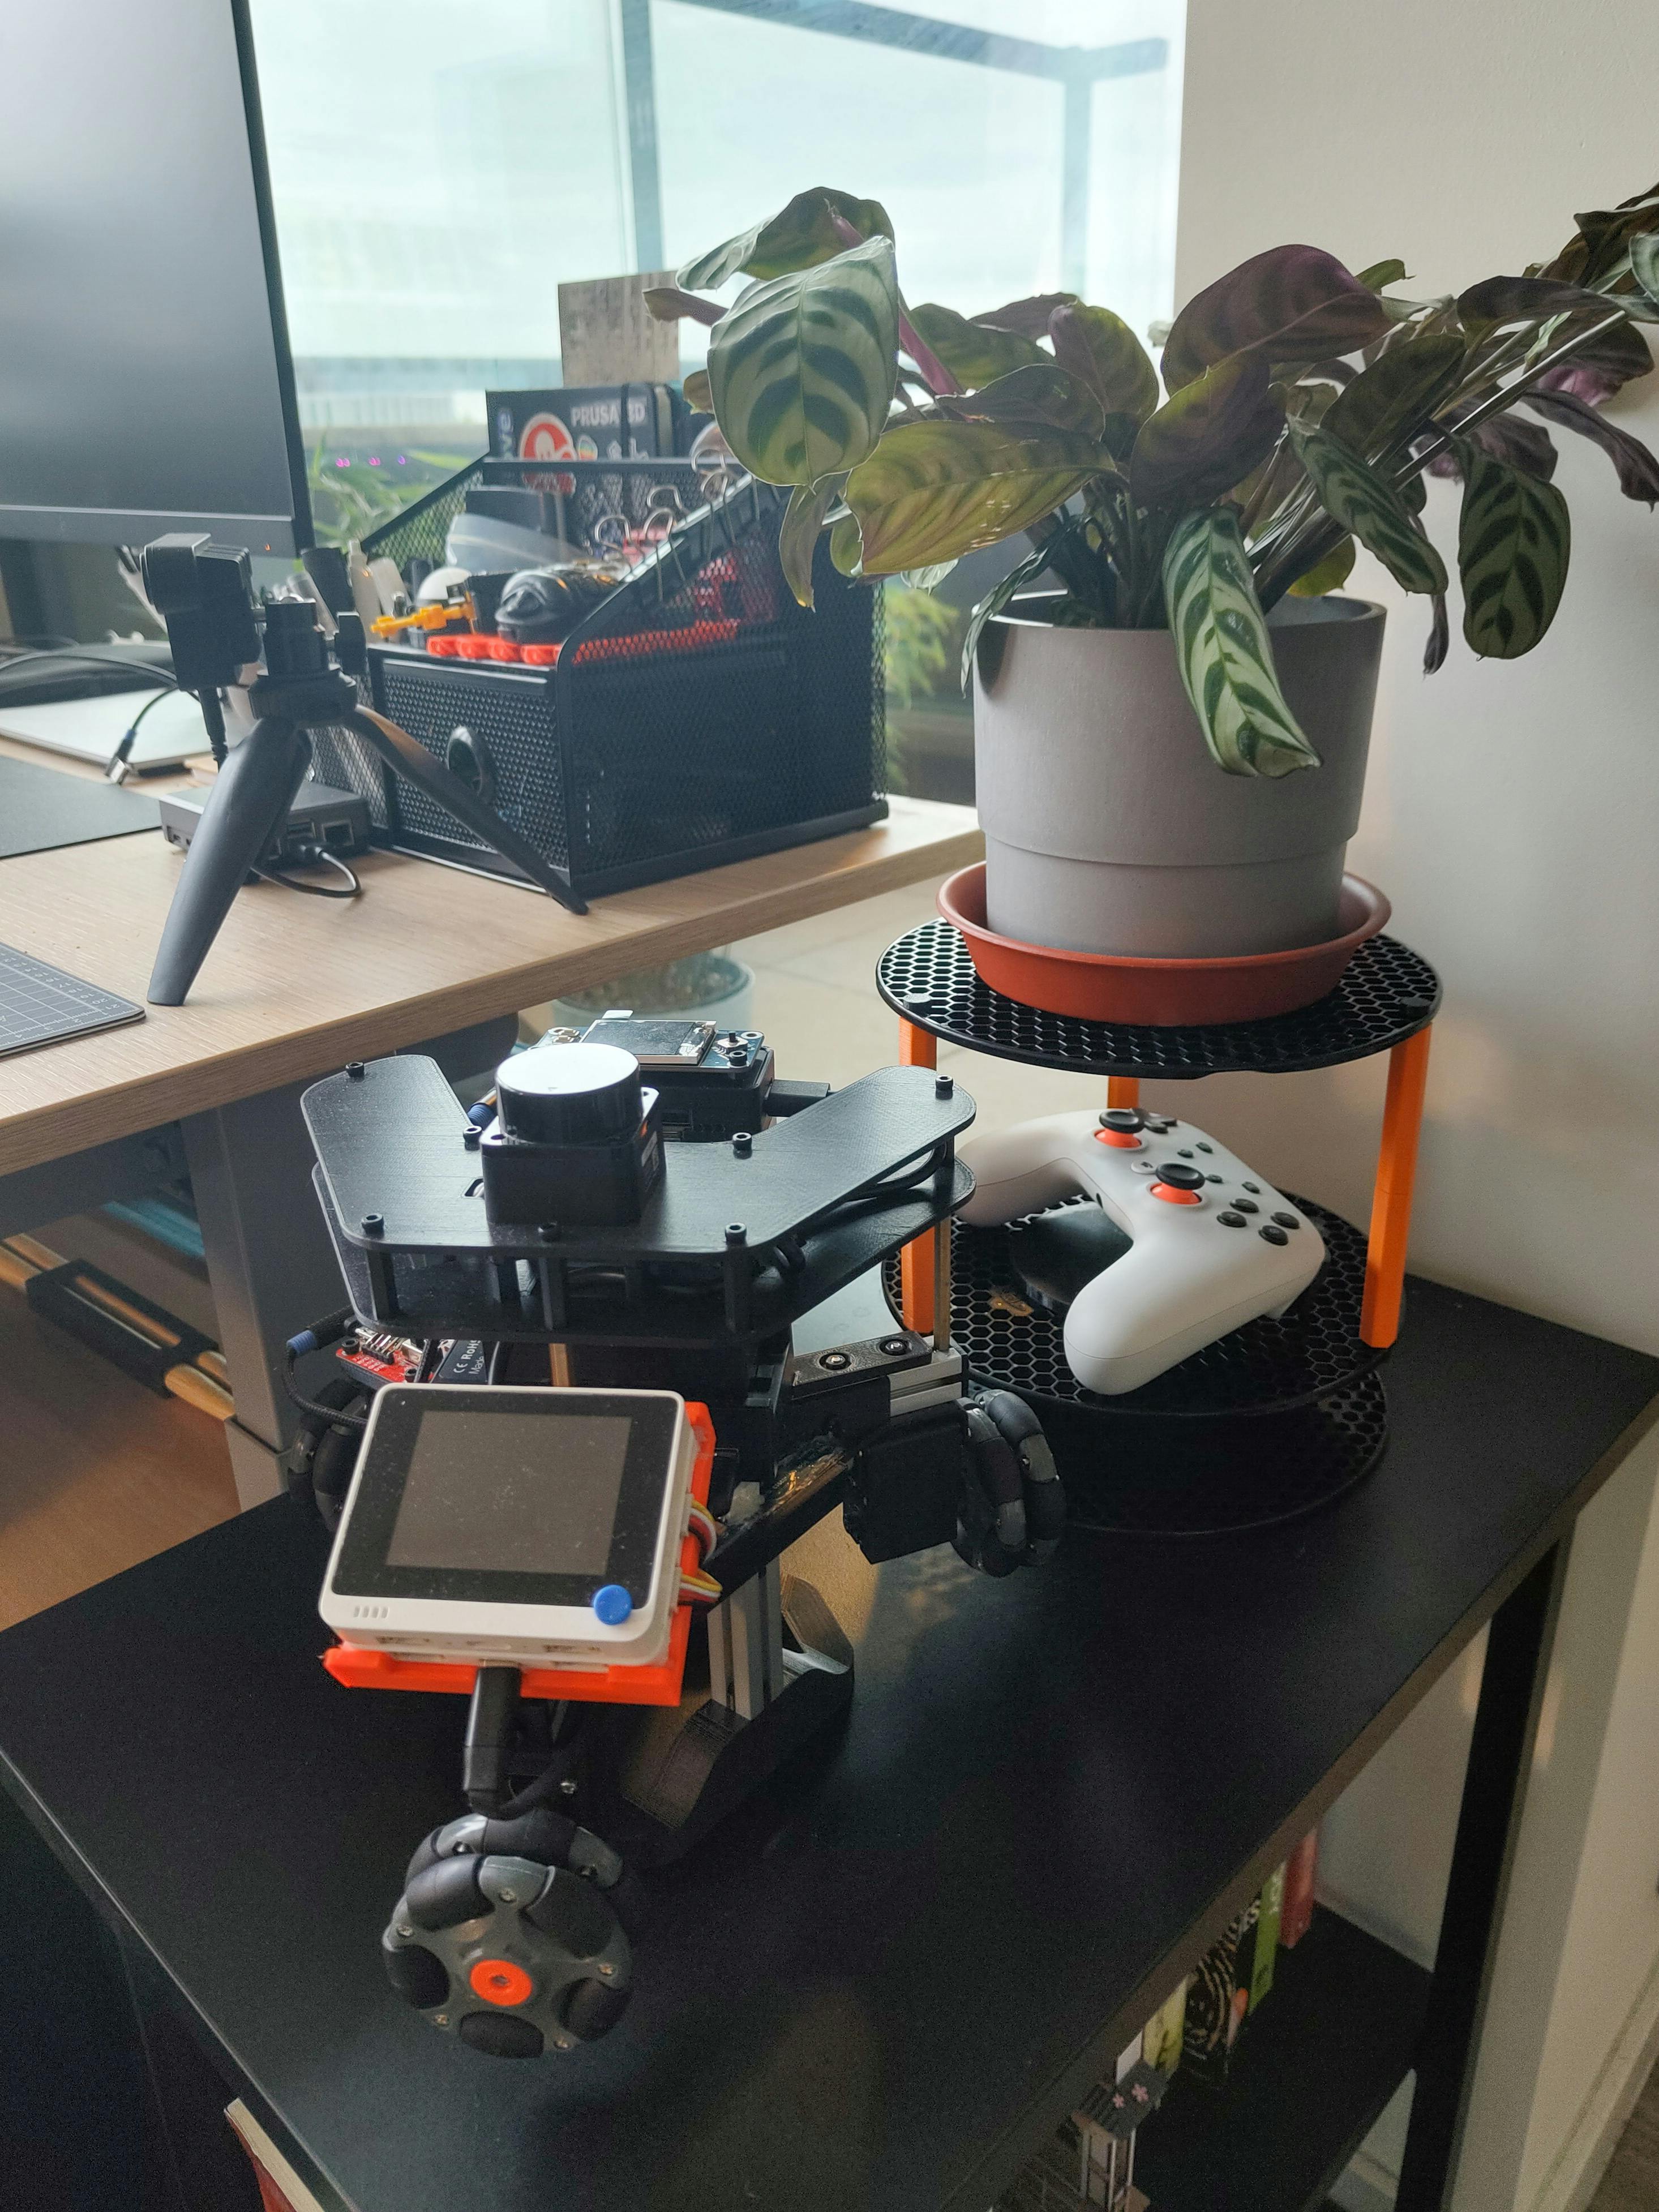
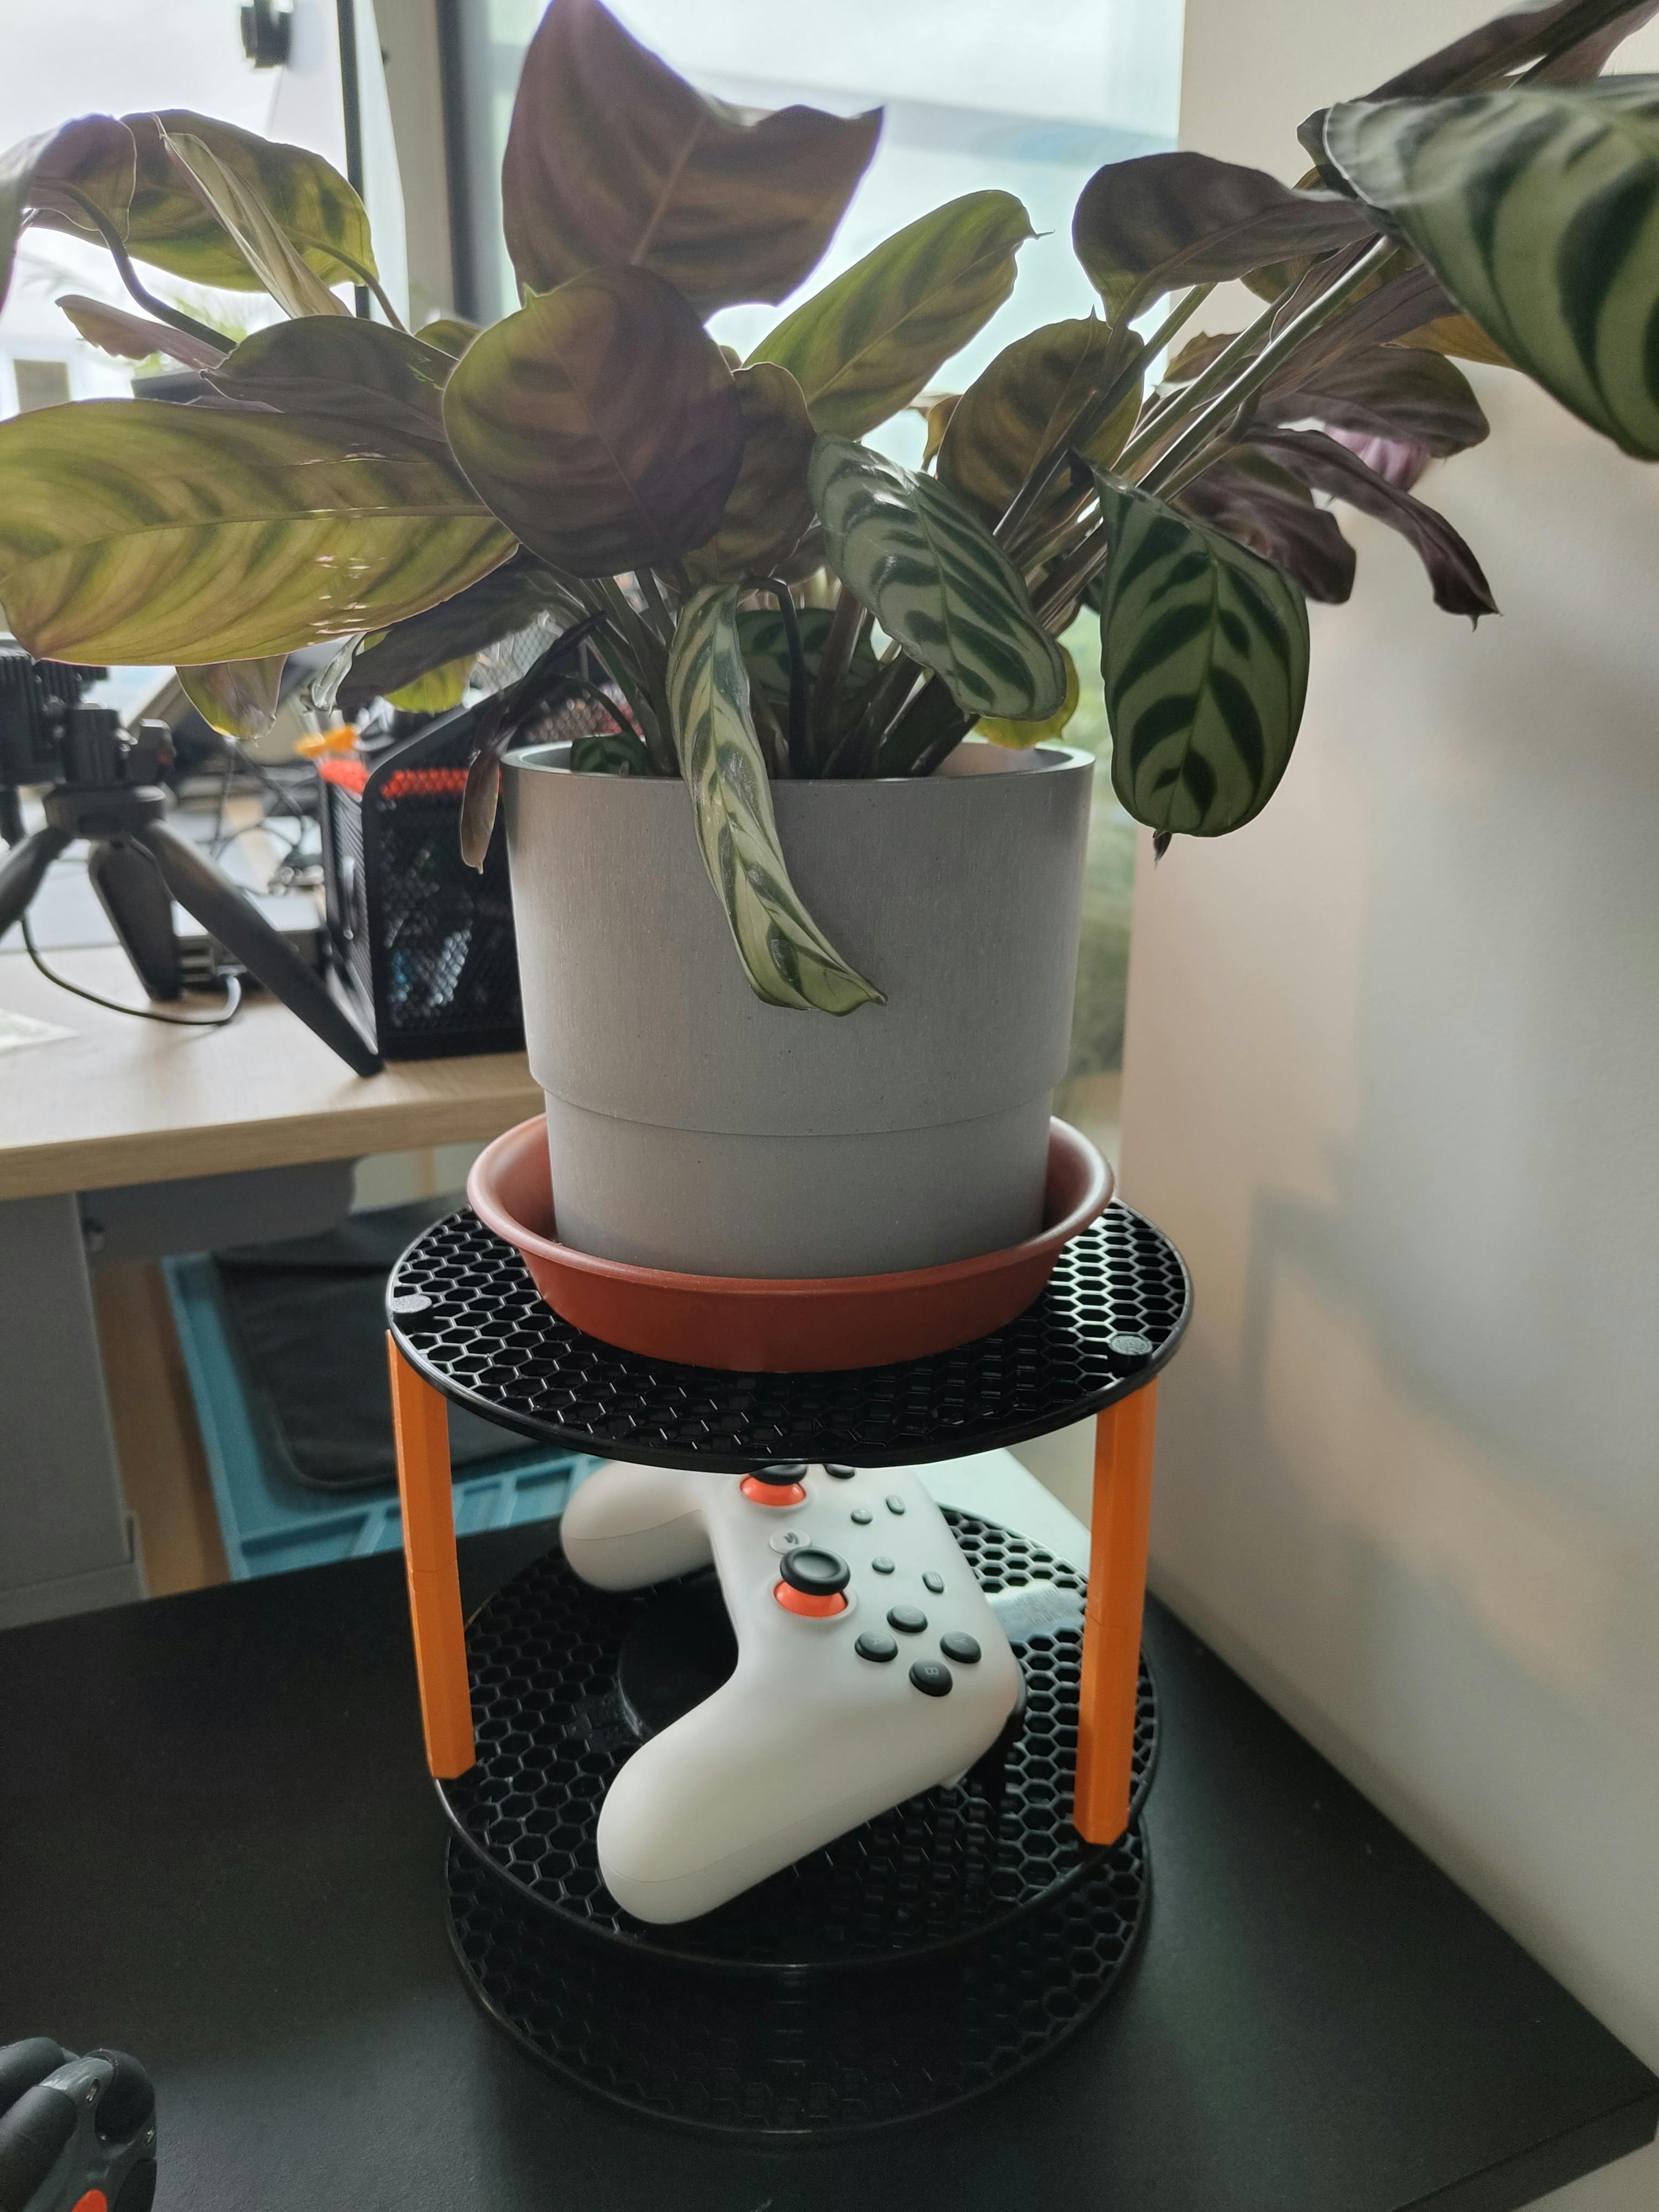
Firstly, I had just finished my first two Prusament spools, and was thinking of upcycling them into something else. I started by looking through Printables and found these two amazing prints - a turntable and a set of shelves. I first put together the turntable (this is where I used 3 of the bearings from the original Prusa filament spool holder), which used 2 sides of 1 spool. Then using legs and connectors from the set of shelves, I added a shelf to the top of the turntable.
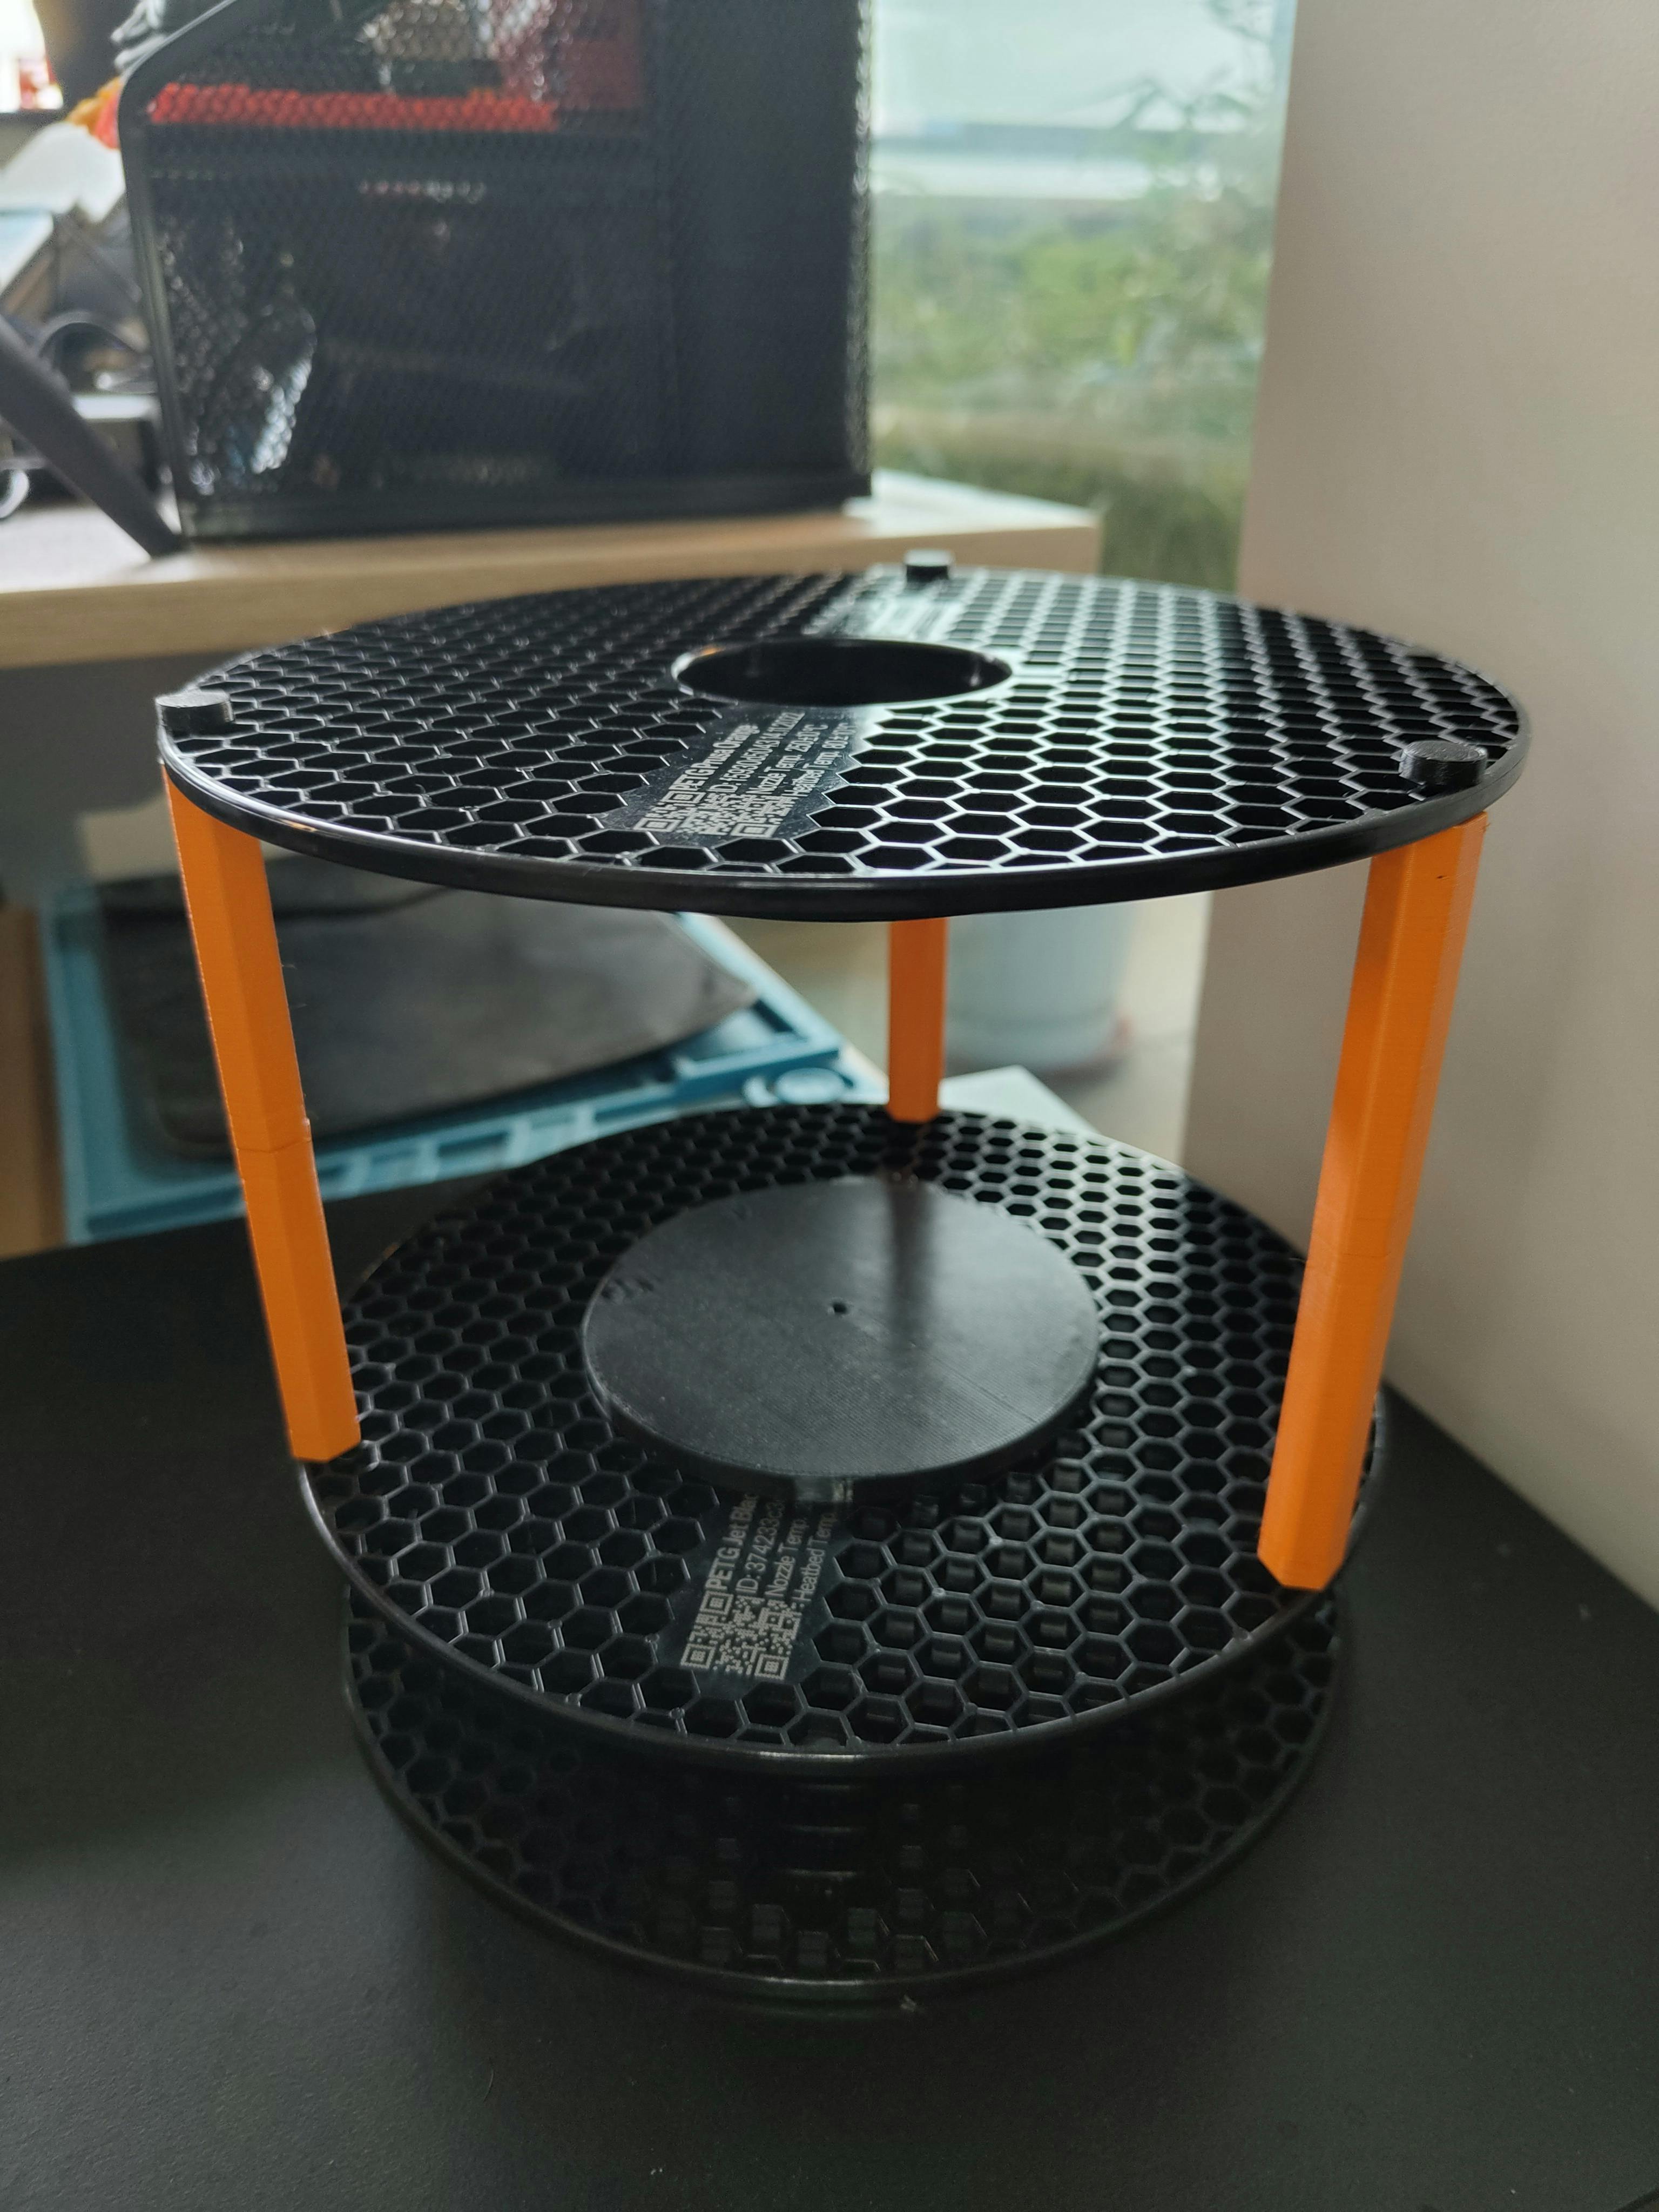
I'm so happy at how it came out, and I also love how it matches the table and the stadia controller (also my 3-wheeled robot)
Gridfinity
I also decided to explore the Gridfinity universe and build myself a soldering station. I started off with a 4x4 base, and then printed a 4x2 container for an Omnifixo kit, and some internal containers which I modified to hold a set of 9 tweezers, a wire cutter, and a ruler. I also printed and added two 1x1 containers - one for a Pokit multimeter, and one for some soldering iron tips. Then, I printed a 2x1 TS100 soldering iron + brass wool holder (this is where the final bearing went, from the original Prusa filament spool holder), a 2x1 solder spool holder, a 1x1 TS100 soldering iron holder, a 1x1 solder remover/sucker holder, and an empty 2x1 container for spares. Finally, this is what the soldering station looks like:
Next Up
Next up, I want to get back to the omniwheel robot. Now, I have managed to set up the on-board RPi Zero 2W with ROS 2 Humble, and all the necessary teleop twist packages to generate twist commands using a Stadia controller. Next, I want to write the hardware interface for the serial bus servo motors. I want to first move the motors directly using the joystick. Then, I will work on the ros2_control controller for the 3-wheeled system. Meanwhile, I love how the colors of the robot match with the Stadia controller and other things in the background...